You can now install Windows 11 on 2GB of memory and 8GB of storage thanks to Tiny11, and here are the steps to do it.
Note:
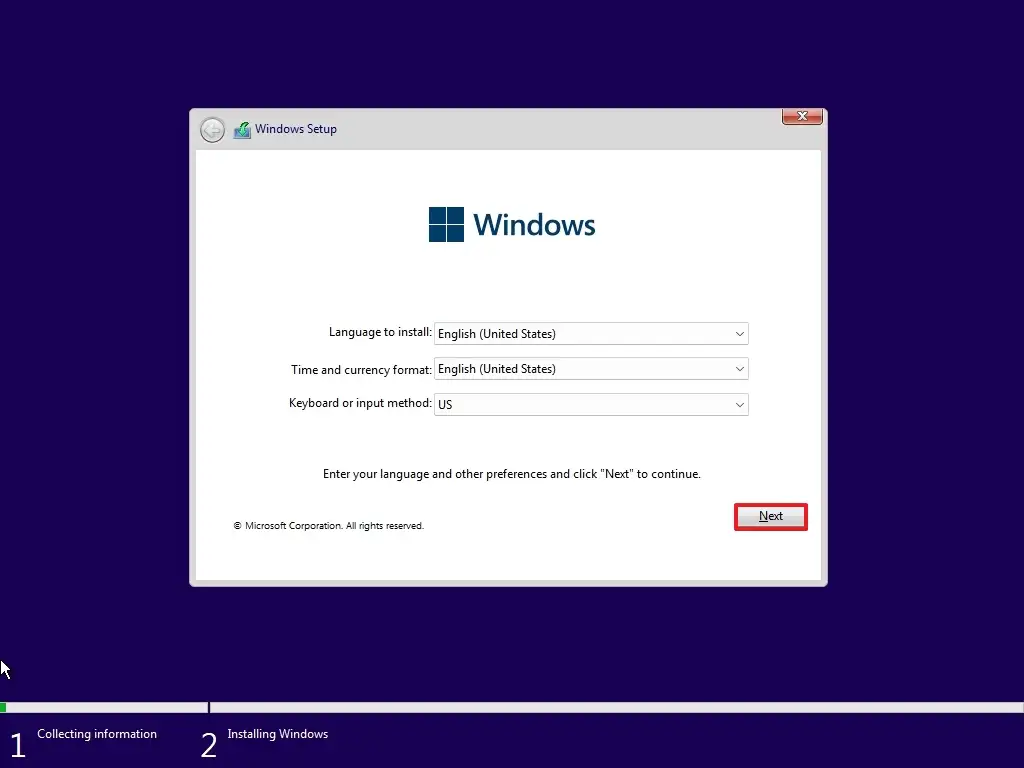
- To use Tiny11 ISO to install Windows 11, start the device with the Tiny11 Windows 11 USB, choose language settings and click “Next,” accept terms and click “Next,” select the hard drive, click “Next,” and continue with a simplified Out-of-the-box Experience.
- Tiny11 2311 comes with the Windows 11 23H2 features and only requires 2GB of RAM and 8GB of storage.
UPDATED 11/29/2023: Tiny11 is an unofficial custom ISO image of Windows 11 that removes all the clutter that is usually not necessary, such as default apps, services, and features to be able to install the operating system on low-end unsupported hardware.
The custom image is based on Windows 11 23H2, and while it strips out many of the default elements, everything works as expected, including Windows Update, activation, and the included apps. It also maintains many security features, such as Microsoft Defender Antivirus and Firewall, Core isolation, Data encryption, and more.
As this guide will show, the clean installation experience is not much different from the official setup. The only difference is that it removes some of the annoyances, including the requirement for TPM 2.0 and Secure Boot, memory, storage, Microsoft account, and other needless steps. Tiny11 is an ideal solution for those who want to run the operating system on less powerful and unsupported hardware since it only requires 2GB of RAM and 8GB of storage. According to the creator (NTDEV on Twitter), you can use the Tiny11 image to perform a clean installation or upgrade to Windows 11 from Windows 10.
If you want to install Windows 11 (at your own risk) using the Tiny11 image, you will first need to download the ISO file (23H2 x64) from the Archive.org website that requires free registration, and then you will need to use Rufus to create a USB bootable flash drive. If you create a virtual machine, you can mount the Tiny11 ISO file to the VM.
You must also ensure that the computer can start from USB, so you must change the BIOS or UEFI settings. The only caveat is that since most computers have different settings, you must check your manufacturer support website for more specific details.
Important: This process will delete everything on your device. It’s recommended to make a full backup of your computer before proceeding. You’ve been warned. Also, these steps are not meant to be instructions to set up a device. These steps only show you how the official and unofficial installations are different. You should always consider using the official process.
Install Windows 11 from Tiny11 2311 ISO with USB
To install Windows 11 with the Tiny11 ISO image, use these steps:
- Start the PC with the Tiny11 Windows 11 USB.Quick note: You must download the Tiny11 2311 ISO file (23H2 x64) from the Archive.org website, which requires free registration, and then use Rufus or Ventoy to create a bootable installation media that you can use to start the setup on your computer.
- Click the Next button.
- Check the “I accept the license terms” option.
- Click the Next button.
- Select each partition in the hard drive you want to install Windows 11 and click the Delete button. (Typically, the “Drive 0” is the drive that contains all the installation files.)
Warning: When you delete a partition, it also deletes all data on the drive. Also, it is not necessary to delete the partitions from a secondary hard drive.
- Select the hard drive (Drive 0 Unallocated Space) to install Windows 11.
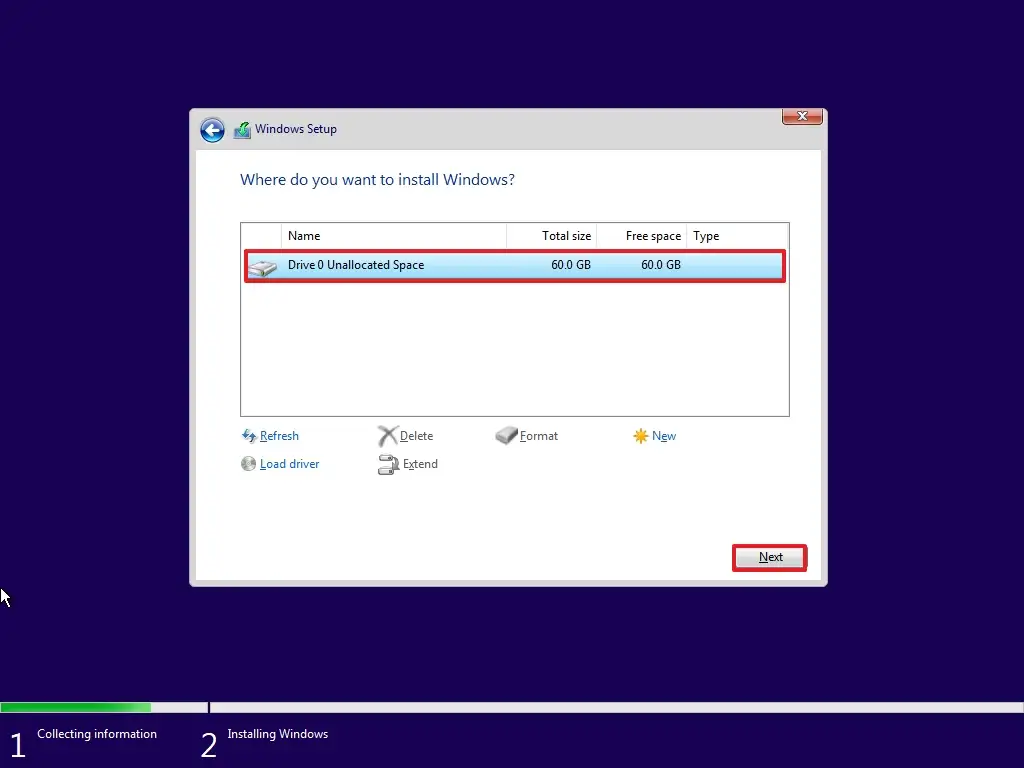
- Click the Next button.
- Select your region setting after the installation on the first page of the out-of-the-box experience (OOBE).
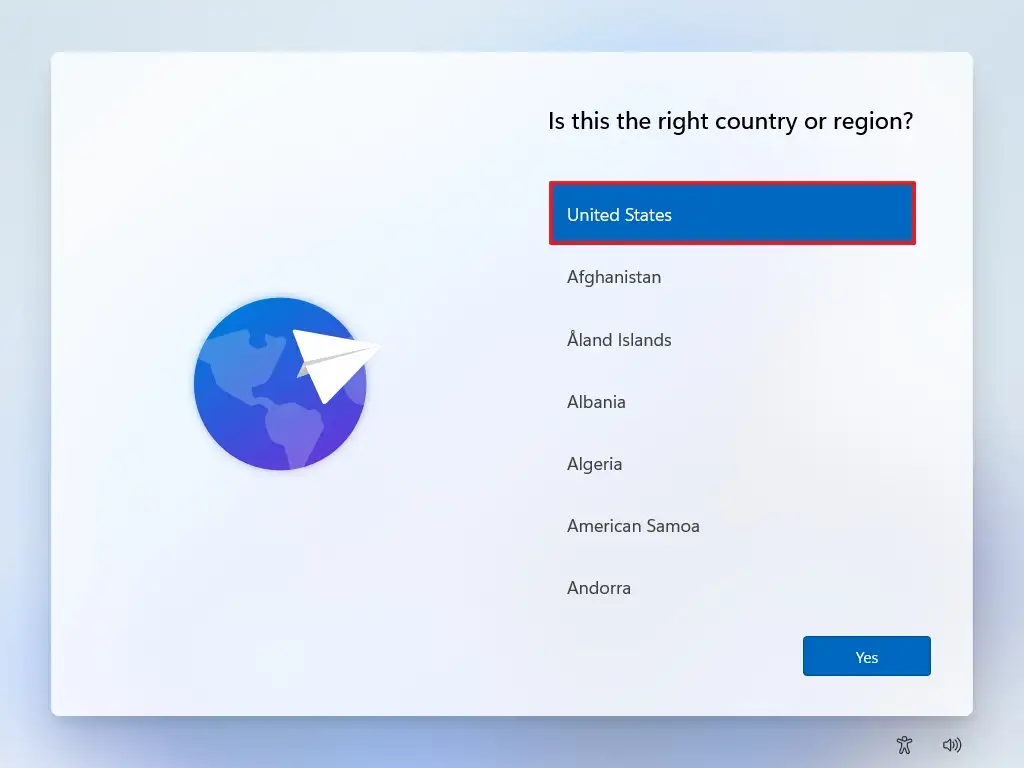
- Click the Yes button.
- Select your keyboard layout setting.
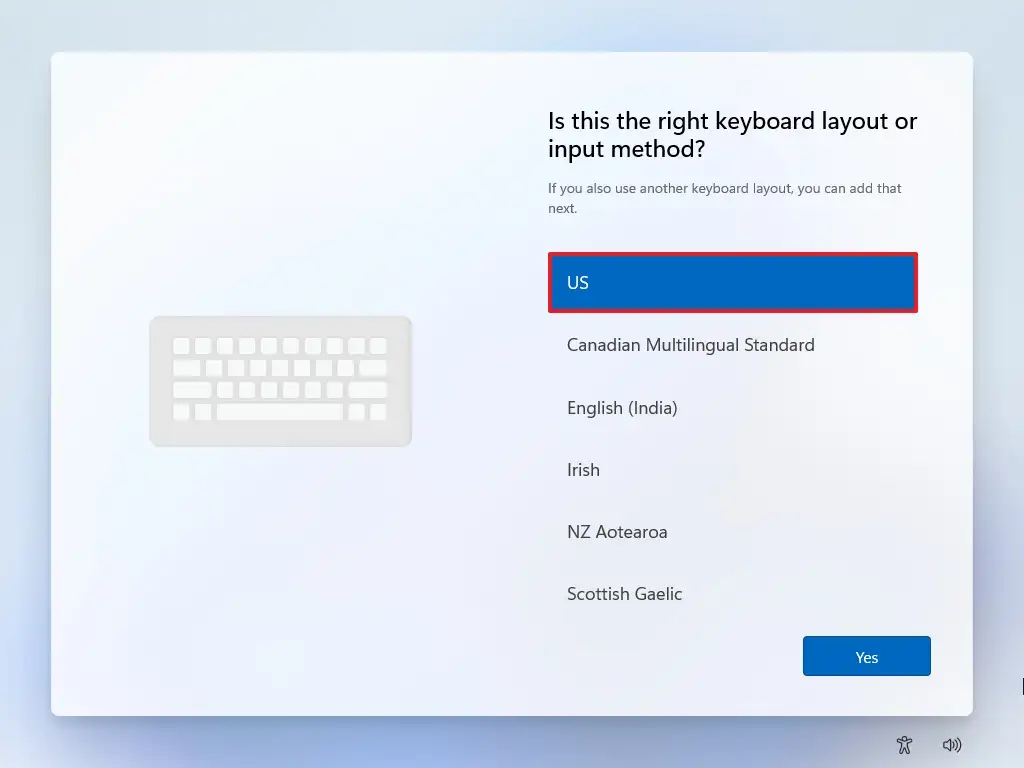
- Click the Yes button.
- Click the Skip button if you do not need to configure a second layout.
- The computer will automatically connect to the network using an Ethernet connection. If you have a wireless connection, you must set up the connection manually (a security key may be required).
- Confirm a name for the Tiny11 Windows 11 local account.
- Click the Next button.
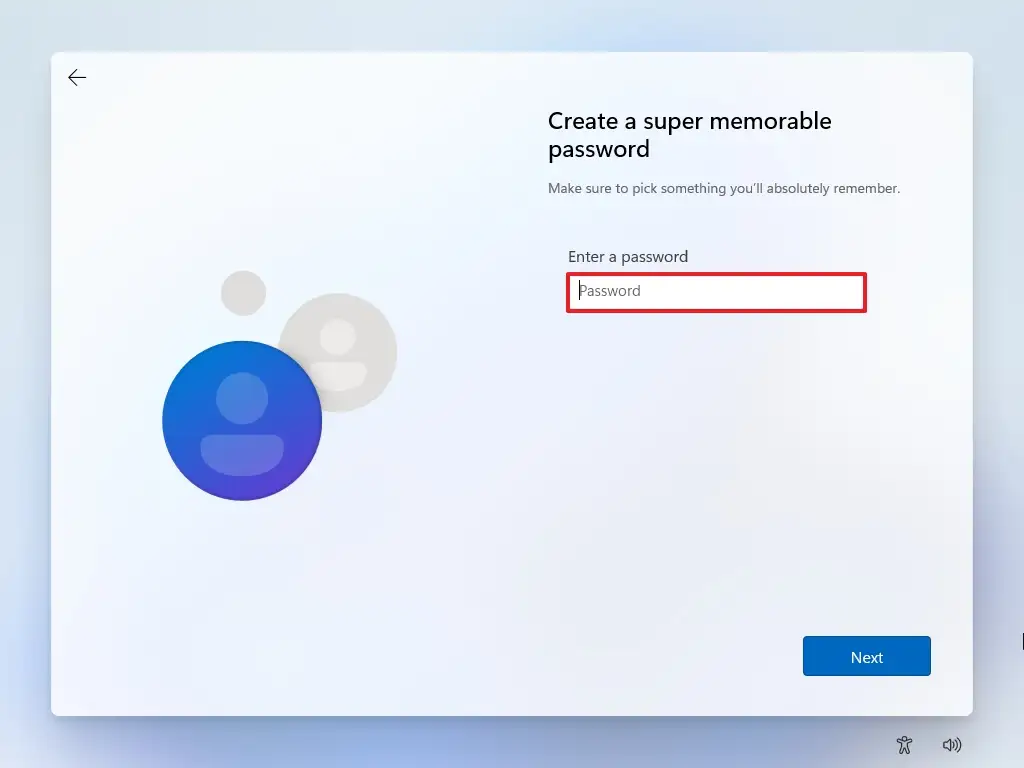
- Create the account password.
- Click the Next button.
- Confirm the account password.
- Click the Next button.
- Set the three security questions to recover your account.
- Click the Next button.
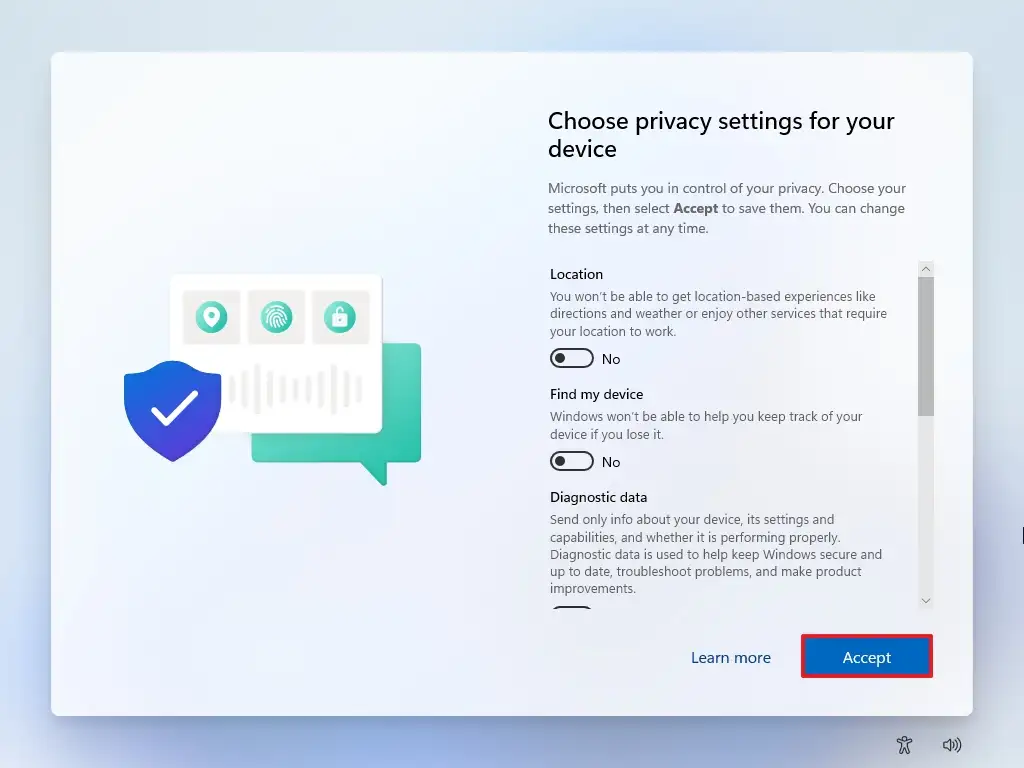
- Confirm the privacy settings that best suit your situation by turning on or off the toggle switch for each setting.

- Click the Next button.
Once you complete the steps, Windows 11 will continue the installation using the Tiny11 setup on the computer.
Although the Tiny11 provides an alternative method to install Windows 11, there are some caveats to consider. For example, Microsoft does not support this setup method. You may risk your computer to security problems because of the vulnerabilities that this modified image opens up, and no one knows if anything extra has been added to the image that may be considered a privacy concern.
Update November 29, 2023: This guide has been updated to ensure accuracy and reflect new changes.
Source: pureinfotech.com