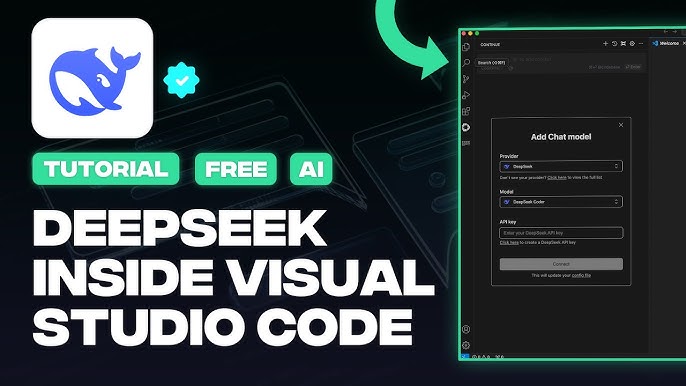
In this post, we are going to see how you can set up and use Deepseek-R1 in Visual Studio Code. Deepseek is probably one of the hottest topics in the world of AI today, and if you are willing to install it on your computer locally, this guide is for you.
Use Deepseek-R1 in Visual Studio Code
If you want to set and use Deepseek-R1 in Visual Studio Code, follow the steps below.
- Install Visual Studio Code
- Download Ollama
- Install the CodeGPT Extension
- Install DeepSeek models
- Use DeepSeek in Visual Studio Code
Let us talk about them in detail.
1] Install Visual Studio Code
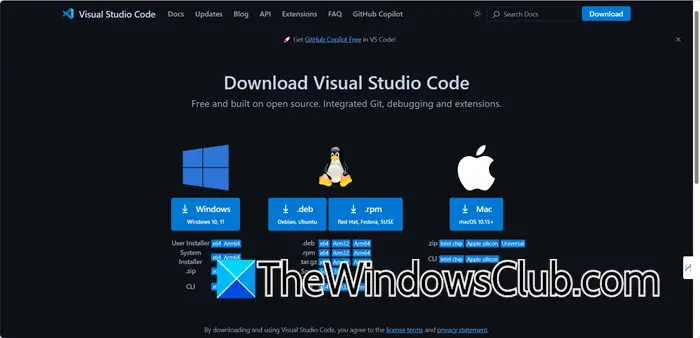
First of all, you need to download Visual Studio Code from code.visualstudio.com. Alternatively, you can install the application from the Microsoft Store if you are using Windows. Just, open the store, search for “Visual Studio Code”, and then click on Get. If you have downloaded the exe file, you need to run the installer to install it. Once done, move on to the next solution.
2] Download Ollama
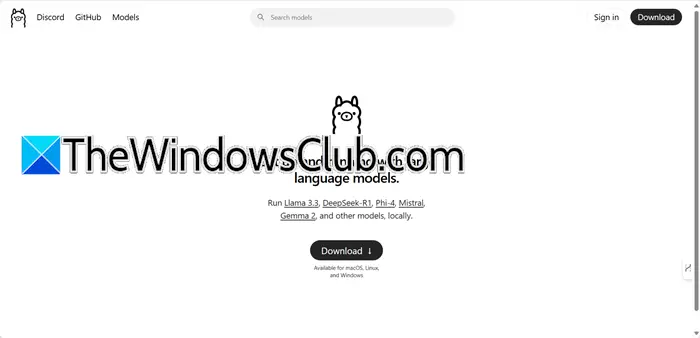
Ollama AI enables users to run advanced large language models, such as Llama 3.3 and DeepSeek-R1, directly on their local machines. This capability allows for seamless model execution without the need for cloud services, ensuring data privacy and security. In this guide, we are going to use Ollama to run DeepSeek-R1. To do so, navigate to Ollama.com and click on Download. Once downloaded, run the setup file, and follow the on-screen instructions to download Ollama.

To confirm if Ollama is installed, open Terminal on your machine and run the following command.
ollama --version
It will give you the version of Ollama that you have installed.
3] Install the CodeGPT Extension

CodeGPT is an AI-powered tool that we are integrating into Visual Studio Code to enhance its compatibility with DeepSeek, as this extension is necessary for running any AI model. It provides features such as code generation, code completion, debugging assistance, and code explanations. In order to install CodeGPT, you can follow the steps mentioned below.
- Open Visual Studio Code by searching it out of the Start Menu.
- Now, you need to click on the Extensions button from the left section of the window.
- Search for “CodeGPT”, go to CodeGPT: Chat & AI Agent, and then click on the Install icon associated with it.
In my case, Visual Studio Code wanted a confirmation to install the extension as it didn’t trust it, since, I trusted the extension, I gave my consent, and didn’t face any issues afterward. You can go to codegpt.co to create your free account.
4] Install DeepSeek models
Now that we have installed Visual Studio Code, CodeGPT, and Ollama, we are all set to configure DeepSeek models. We will be installing two models, DeepSeek-R1 and DeepSeek-Coder.
DeepSeek-R1 is used for advanced reasoning tasks in various AI applications. It excels in natural language processing, understanding complex queries, and generating coherent responses. This model is particularly beneficial for developers working on projects that require sophisticated AI capabilities, such as chatbots, virtual assistants, and automated content generation.
DeepSeek-Coder is an AI model designed to help with coding. It can complete code snippets, suggest corrections, and generate code based on the context, which makes it useful for large coding projects. The model supports multiple programming languages and helps improve productivity by reducing errors and providing relevant code suggestions.
To download DeepSeek-R1, follow the steps mentioned below.
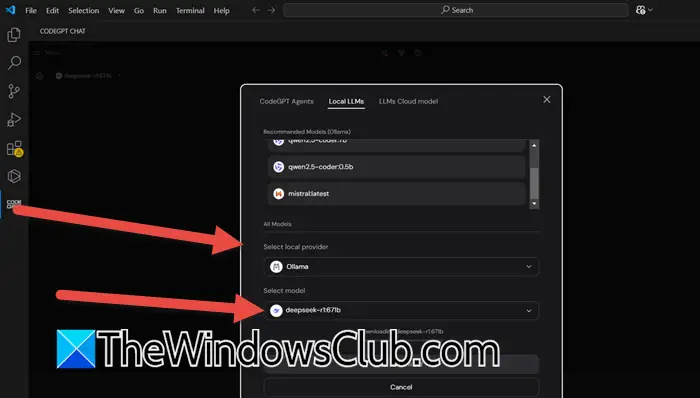
- Open Visual Studio Code and click on the CodeGPT icon from the left sidebar.
- Now, you need to click on the selected model, in my case, it was Claude-3.5-Sonnet.
- Go to the Local LLMs tab.
- In the Select Local Providers (or Select Providers), set Ollama.
- Select deepseek-r1:67lb in the Select Models section.
- Click on Download.
This might take a little time for DeepSeek-R1 to install. Once you are done with it, let’s go ahead and install DeekSeek-Coder. To do so, open Terminal in Visual Studio Code, and run the following command.
ollama pull deepseek-coder:1.3b
This will run and install the DeepSeek-R1.
5] Use DeepSeek in Visual Studio Code

You can now go ahead and use DeepSeek as we have installed every required component. To do so, go to CodeGPT, and then you will see the DeepSeek chatbot. To know what you can do with it, type /, and you will be greeted with multiple functionalities of DeepSeek. After configuring the models, you can take full advantage of these powerful tools without depending on external APIs. Running everything locally on your computer ensures that you maintain complete privacy and have full control over your coding environment.
Hopefully, you will be able to run DeepSeek locally with the help of this guide.
How to run DeepSeek locally?
DeepSeek-R1 is a local model of DeepSeek that you can run with the help of Ollama. You can check this guide to install DeepSeek-R1 if you use Visual Studio Code, or check this guide to use DeepSeek R1 in Cursor AI.
Read: How to run DeepSeek locally on Windows 11
How do I use Visual Studio Code for remote development?
To use Visual Studio Code for remote development, install VS Code and the Remote Development Extension Pack. If you are connecting to a remote server, set up SSH on your local machine. Use the Command Palette to connect to the remote server via Remote-SSH: Connect to Host. Once connected, open folders, install extensions, and configure your remote environment. This setup enables you to work on remote machines, containers, or WSL with the full capabilities of VS Code.
Source: Thewindowsclub