Upgrade Windows 7 to Windows 11 is not a direct process since Microsoft does not provide an in-place upgrade path. However, you can achieve this by performing a clean installation of Windows 11. Follow these steps to successfully upgrade your system.
Step 1: Check System Requirements
Before proceeding, ensure your PC meets the minimum requirements for Windows 11:
- Processor: 1 GHz or faster with 2 or more cores (64-bit)
- RAM: 4 GB or more
- Storage: 64 GB or larger storage device
- TPM Version: TPM 2.0 enabled
- Secure Boot: Enabled in BIOS
- Graphics Card: Compatible with DirectX 12 or later
- Display: 720p resolution or higher
To check these requirements, download and run the PC Health Check tool from Microsoft.
Step 2: Backup Your Data
Since a clean installation will erase all data, back up important files to an external drive or a cloud storage service.
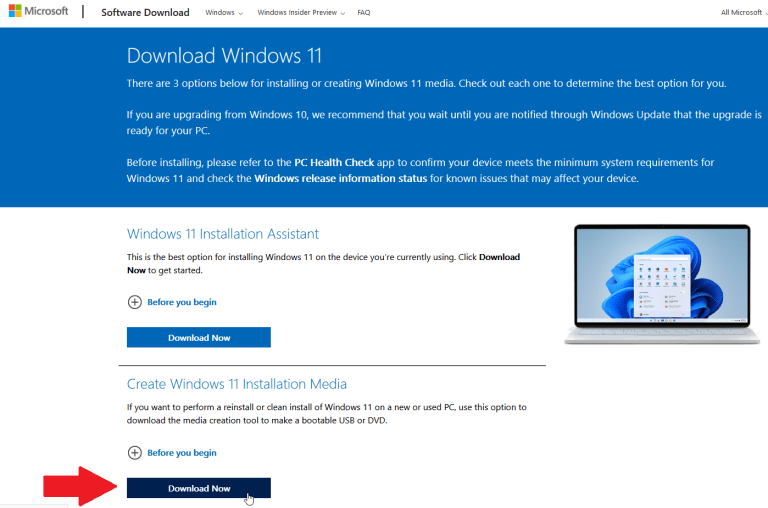
Step 3: Create a Windows 11 Installation USB
- Download the Media Creation Tool from Microsoft’s official website.
- Insert a USB flash drive (at least 8 GB) into your PC.
- Run the tool and select Create installation media.
- Choose your language, edition, and architecture (64-bit).
- Select the USB drive as the destination and allow the tool to create the bootable media.
Step 4: Boot from USB and Install Windows 11
- Restart your PC and enter the BIOS (usually by pressing F2, F12, DEL, or ESC during startup).
- Set the USB drive as the first boot device.
- Save and exit the BIOS. Your PC will boot from the USB.
- Select Install Now and follow the prompts.
- Choose Custom Installation and format your current Windows 7 drive.
- Complete the installation process and set up Windows 11.
Read more: How to install Windows 11
Step 5: Install Drivers and Updates
After installation, update your drivers and install the latest Windows updates by going to Settings > Windows Update.
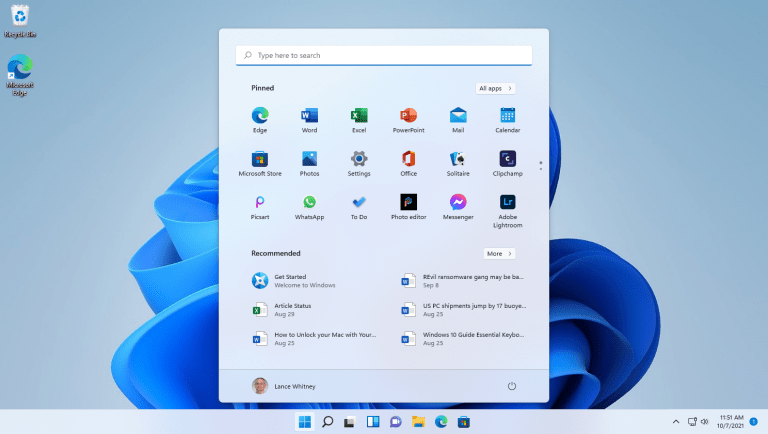
Upgrading from Windows 7 to Windows 11 requires a clean installation, but by following these steps carefully, you can enjoy the latest features of Windows 11 seamlessly.