
How to upgrade to Windows 10?
Windows 7 died eight years ago, it’s time you upgraded to at least Windows 10: Here’s How
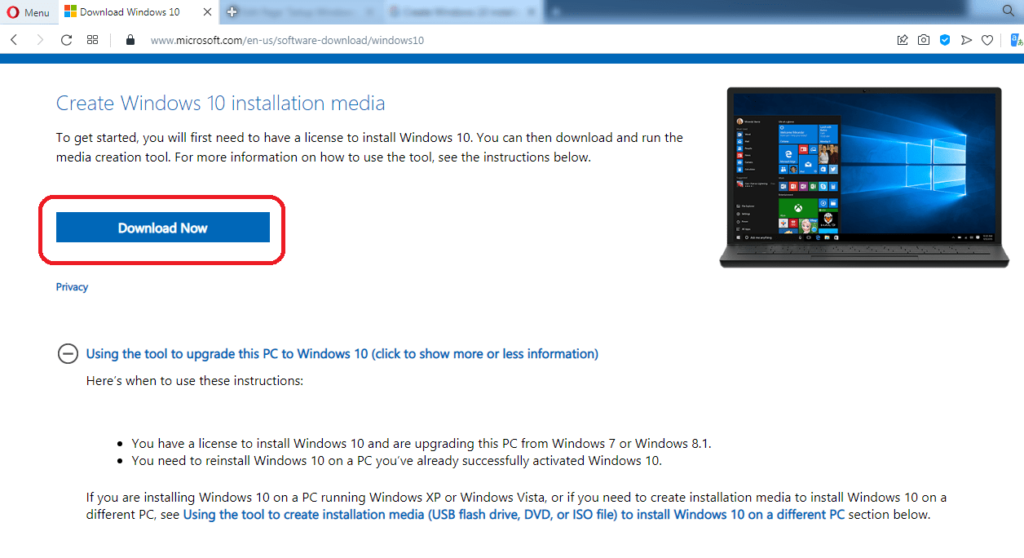
- Open Windows 10 download page. Under the “Create Windows 10 installation media” section, click the Download tool now button to save the file on your device.
- Double-click the MediaCreationToolxxxx.exe file to launch the tool. (You need to be an administrator to run this tool.)
- Click the Accept button to agree to the Microsoft terms.
- On the What do you want to do? page, select Upgrade this PC now, and then select Next.
- After downloading and installing, the tool will walk you through how to set up Windows 10 on your PC.
- During the installation process, the tool will ask you to enter a license to activate. You need to open the email containing the license you purchased to activate Windows 10.
- When Windows 10 is ready to install, you’ll see a recap of what you’ve chosen, and what will be kept through the upgrade. Select Change what to keep to set whether you would like to Keep personal files and apps, or Keep personal files only, or choose to keep Nothing during the upgrade.
- Save and close any open apps and files you may be running, and when you’re ready, select Install.
- It might take some time to install Windows 10, and your PC will restart a few times. Make sure you don’t turn off your PC.
[Fix] Media Creation Tool Error 0x80072F8F – 0x20000
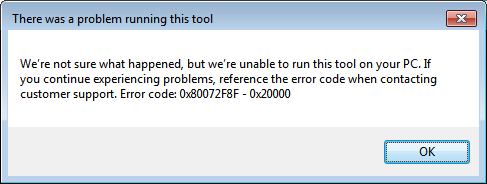
When you attempt to upgrade to Windows 10 from a Windows 7/8 computer using Microsoft’s Media Creation Tool, the error 0x80072F8F - 0x20000 may appear. The full error message verbatim is below:
There was a problem running this tool
We’re not sure what happened, but we’re unable to run this tool on your PC. If you continue experiencing problems, reference the error code when contacting customer support. Error code: 0x80072F8F – 0x20000
To resolve the Media Creation Tool Error 0x80072F8F – 0x20000 error on Windows 7 and Windows 8 computers, enable the TLS 1.1 and TLS 1.2 protocols. Follow these steps to do so:
Make sure your system is fully updated.
Open Notepad.
Copy the following lines into Notepad.
Windows Registry Editor Version 5.00
[HKEY_LOCAL_MACHINE\SOFTWARE\Microsoft\Windows\CurrentVersion\Internet Settings\WinHttp] “DefaultSecureProtocols”=dword:00000a00
[HKEY_LOCAL_MACHINE\SOFTWARE\Wow6432Node\Microsoft\Windows\CurrentVersion\Internet Settings\WinHttp] “DefaultSecureProtocols”=dword:00000a00
[HKEY_LOCAL_MACHINE\SYSTEM\CurrentControlSet\Control\SecurityProviders\SCHANNEL\Protocols\TLS 1.1\Client] “DisabledByDefault”=dword:00000000 “Enabled”=dword:00000001
[HKEY_LOCAL_MACHINE\SYSTEM\CurrentControlSet\Control\SecurityProviders\SCHANNEL\Protocols\TLS 1.2\Client] “DisabledByDefault”=dword:00000000 “Enabled”=dword:00000001
Save the file with a .reg extension — e.g., enable_tls.reg
Double-click the enable_tls.reg file to apply the settings into the registry. Click Yes when asked for confirmation.
Or you can download the enable_tls.reg file here: https://drive.google.com/file/d/12v3_NTe0wuQqDDcxAKif2blY-v6xXkOw/view?usp=sharing
If you’re using Windows 7, download the KB3140245 package (TLS 1.1/1.2 enablement update) from Microsoft and install it. This step may not be needed for Windows 8 and Restart Windows.
https://www.catalog.update.microsoft.com/search.aspx?q=kb3140245