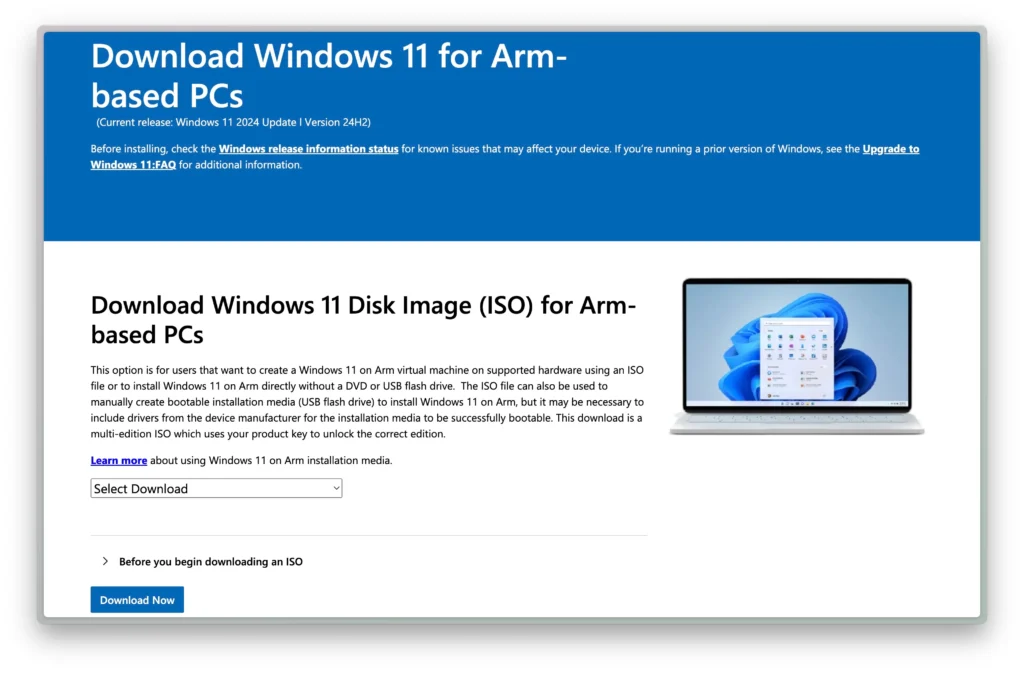
Microsoft has officially released the ISO file for Windows 11 on ARM, designed for devices using ARM-based SoCs like Qualcomm Snapdragon. This release allows users to perform a clean installation of Windows entirely offline on ARM64 PCs, including Copilot+ PCs. However, the ISO file is primarily intended for virtual machine installations.
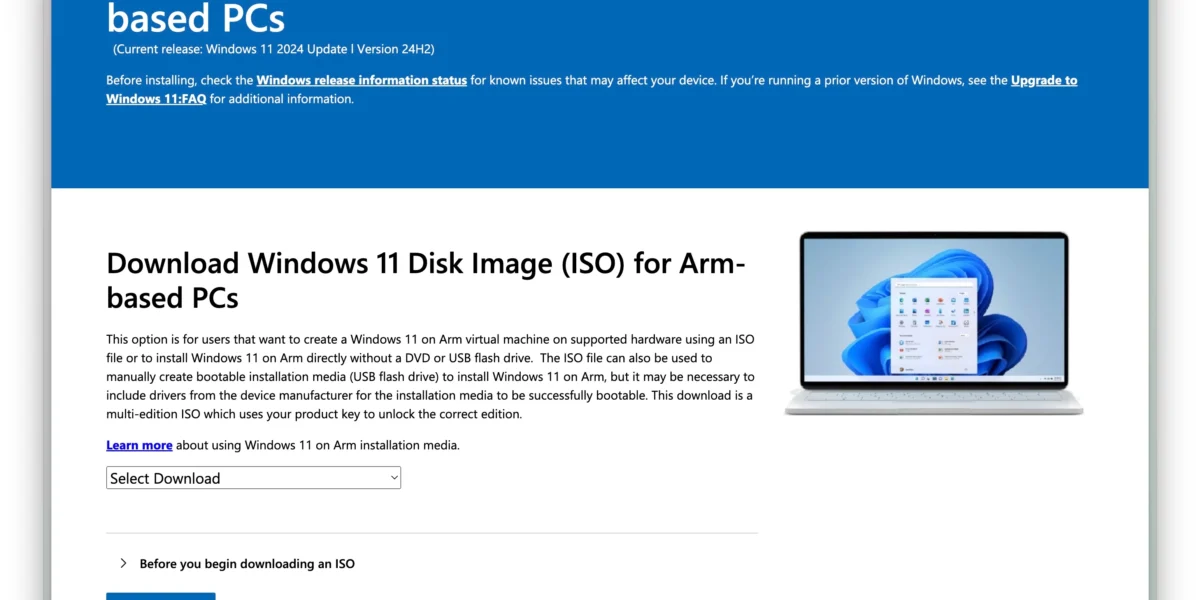
If you are running Windows 11 on ARM version 24H2 or an earlier version, you can download the ISO file from Microsoft’s official website. The file size is approximately 5GB, depending on the selected language. Although primarily created for virtual machines, Microsoft states that the ISO file can also be installed on regular ARM64 hardware. Depending on your hardware, such as older Snapdragon platforms, you may need to update drivers or integrate them into the ISO file before installation.
Quick Guide to Installing Windows 11 via USB in 2024

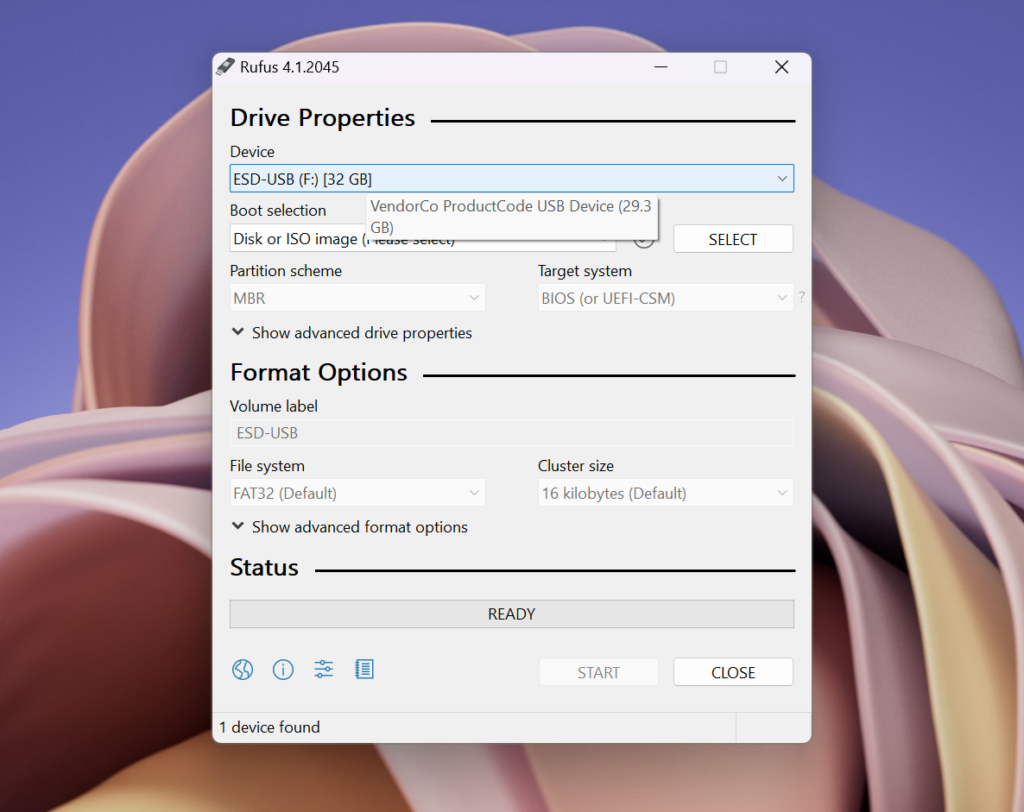
The fastest and simplest way to perform a clean installation of Windows 11 is by creating a bootable USB. Once created, plug the USB into the target computer and run the installer. Follow these steps to create a USB installation drive:
How to Install Windows 11 Using Microsoft’s Media Creation Tool
For Snapdragon X Elite or X Plus Devices:
After creating the bootable USB, access the BIOS and select the correct USB drive for installation:
- Insert the USB into the computer and restart.
- Access the BIOS/UEFI settings (varies by manufacturer; refer to your device’s support page for specific instructions).
- Navigate to the USB Boot section and select the created USB drive.
- The computer will reboot into the Windows installation screen.
- Choose your version, language, and partitions as needed, then proceed with the installation.
- Complete the setup as prompted, similar to configuring a new PC.
For Other ARM-Based Devices:
For older ARM devices or Qualcomm Snapdragon models, additional steps may be required, such as integrating necessary drivers into the ISO file.
Integrating Essential Drivers for Older ARM64 Hardware
Older ARM64 hardware includes Snapdragon 8cx Gen 3 or earlier processors, and previous ARM64 platforms like Microsoft SQ3, SQ2, or SQ1. Before creating a USB installer, you’ll need to integrate your device’s drivers into the ISO file.
Backing Up Drivers
- Update your system to the latest version of Windows and ensure all drivers are current.
- Create a folder (e.g.,
Folder_0) to store backed-up drivers. - Open PowerShell with admin rights and run:
Export-WindowsDriver -Online -Destination "Path to Folder_0"
- Alternatively, use DISM:
Dism /online /export-driver /destination:"Path to Folder_0"
- The folder will now contain all extracted drivers.
Integrating Drivers into the ISO File
- Create a folder (e.g.,
Folder_1) to store the ISO content, and extract all files into it. - Create another folder (e.g.,
Folder_2) to mount theinstall.wimfile. - Mount the WIM file using DISM:
Dism /mount-wim /wimfile:<Path to Folder_1\sources\install.wim> /index:<desired index number> /mountdir:<Path to Folder_2>
- Add the drivers:
Dism /image:<Path to Folder_2> /add-driver /driver:<Path to Folder_0> /Recurse
- Save changes and unmount the WIM file:
- D
ism /unmount-wim /mountdir:<Path to Folder_2> /commit
- D
- Replace the
install.wimandboot.wimfiles in the original ISO with the modified versions or convertFolder_1back into an ISO using tools like UltraISO.

Final Steps
Once the ISO file has been modified, use the USB installation method described above to perform a clean installation of Windows 11 on your ARM64 device.


