Installing Windows on a MacBook via Boot Camp Assistant is no longer a strange process. Recently, Microsoft has officially announced the Windows 11 version with an eye-catching design that captivates users. To satisfy the curiosity of MacBook users, below is a detailed guide on how to install Windows 11 on a MacBook. Join me to learn!
Currently, Windows 11 requires the device to support TPM 2.0 (a microchip built into the computer that provides hardware-based security for the device) and meet certain minimum configurations to be able to install this operating system. At the moment, most MacBook lines that support TPM 2.0 have relatively weak configurations for installation.
List of Macs that support TPM 2.0 in CPUs:
| MacBook (Retina, 12-inch, 2017) | Mac mini (2018) |
| MacBook Air (13-inch, 2017) | iMac Pro (2017) |
| MacBook Pro (15-inch, 2016) | iMac (Retina 5K, 27-inch, 2017) |
| MacBook Pro (13-inch, 2016, 4 Port Thunderbolt 3) | iMac (Retina 4K, 21,5 inch, 2017) |
| MacBook Pro (13-inch, 2016, 2 Port Thunderbolt 3) | iMac (21,5 inch, 2017) |
| Mac Pro (2019) |
However, don’t worry. If you are using MacBook models that are not on the list above, you can still follow the steps below that I have tried and succeeded with:
Software to prepare:
Download Windows 11 at here: Download links
ISO file creation application – (AnyToiSO suggestion software)
Steps to install Windows 11 installer
Because currently, Windows 11 requires the device to support TPM 2.0, we will need to find a way to create a custom ISO file to bypass this request from Microsoft.
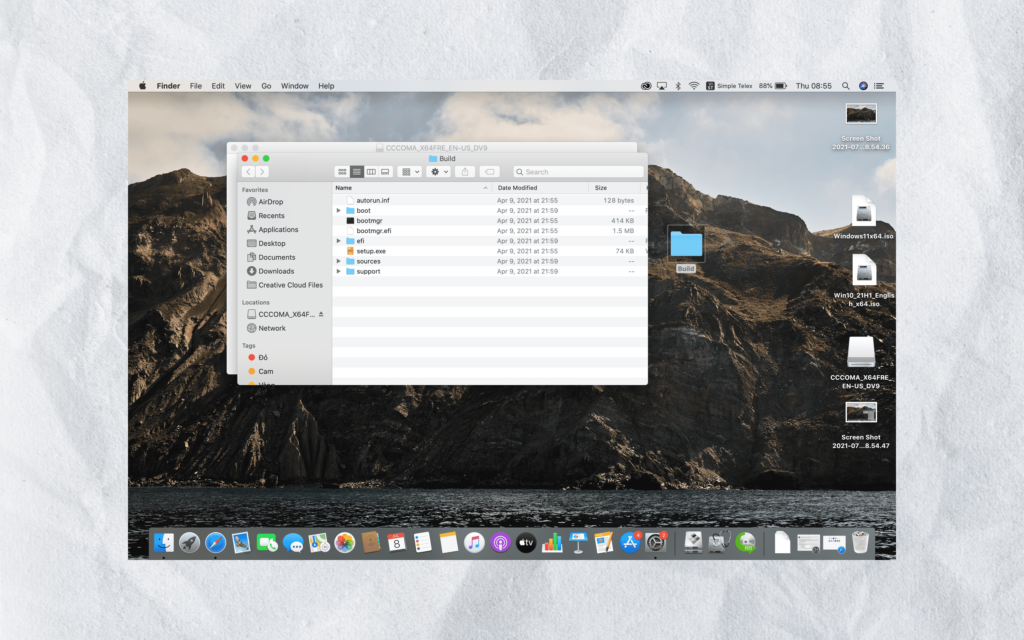
Step 1: Create a new folder to store the installer – I named it “build.”
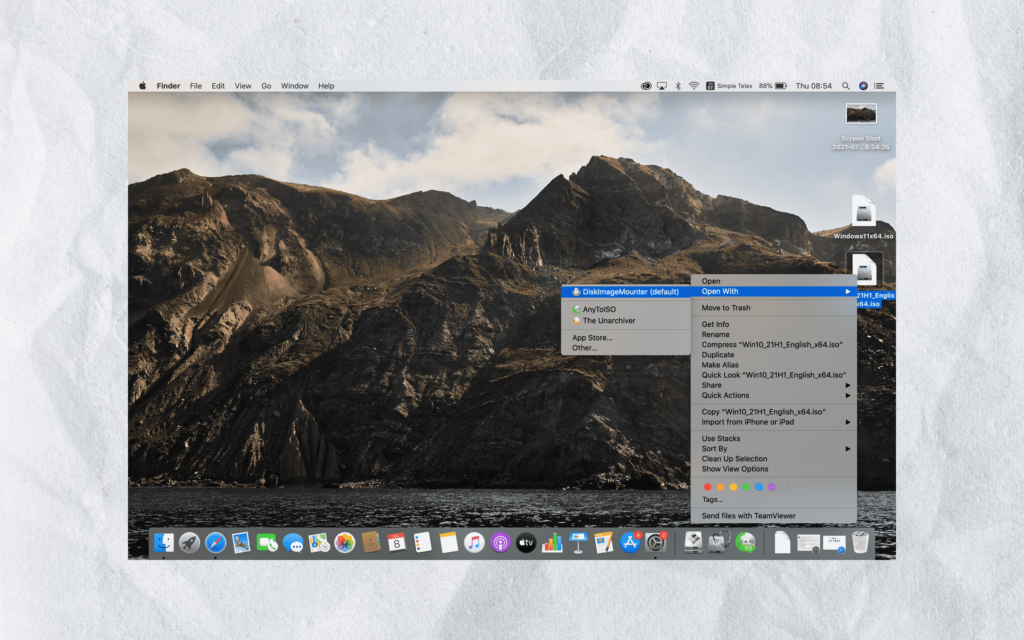
Step 2: Select the Windows 10 ISO file >>> right-click and select “Open with” >>> choose “Disk Image Mouse.”
Step 3: Copy the entire file in the opened Disk Image Mounter. Then Paste into the new folder created in step 1
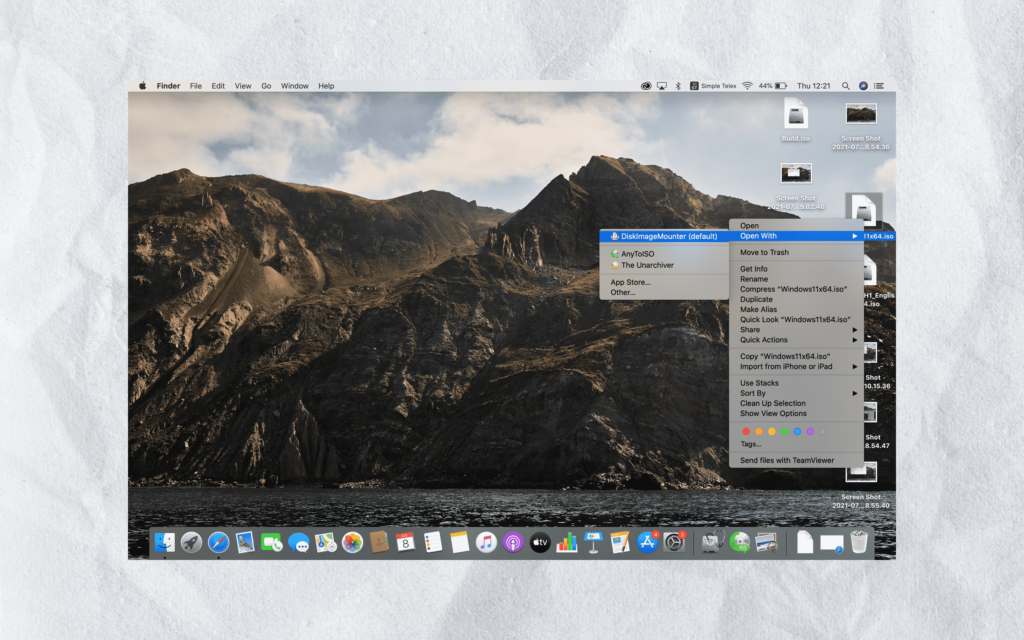
Step 4: Select the Windows 11.ISO file >>> right-click and select Open with >>> select Dish Image Mouser >>> select the soucre item >>> find the install.wim file and then copy it to the desktop
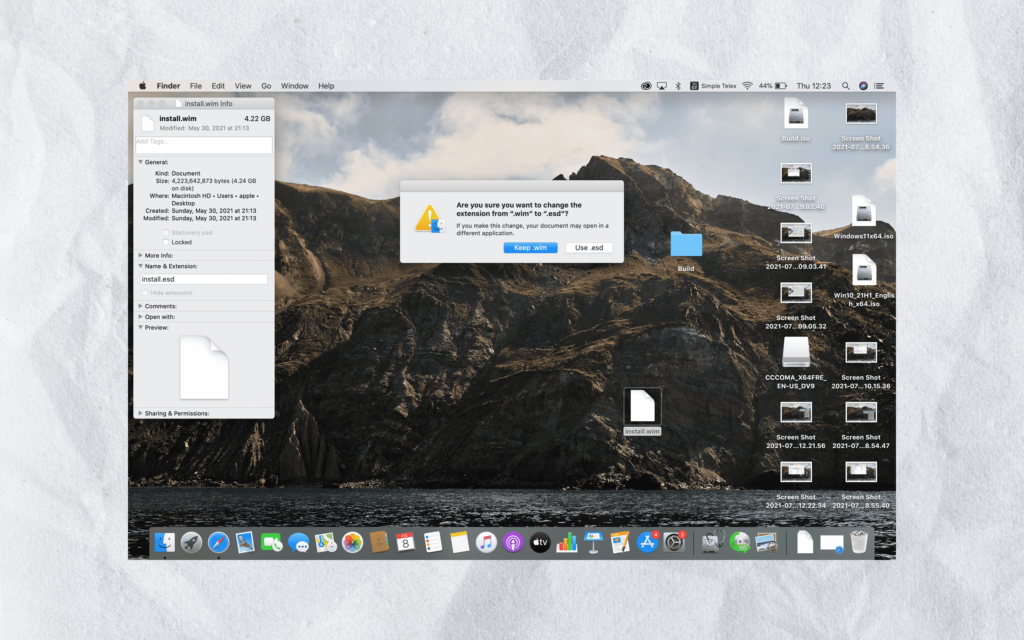
Step 5: Select the file install.wim just copied on the desktop >>> get in for >>> then rename the file extension from wim to esd.
Step 6: Go to the build file created in step 1 >>> select the soucre item >>> find the install.wim file and delete it, then copy the install.esd file changed in step 5.
Step 7: Start the AnytoiSO application >> select the folder to ISO >>> in the soucere folder select browse for folder >>> select the Build folder on the desktop created previously
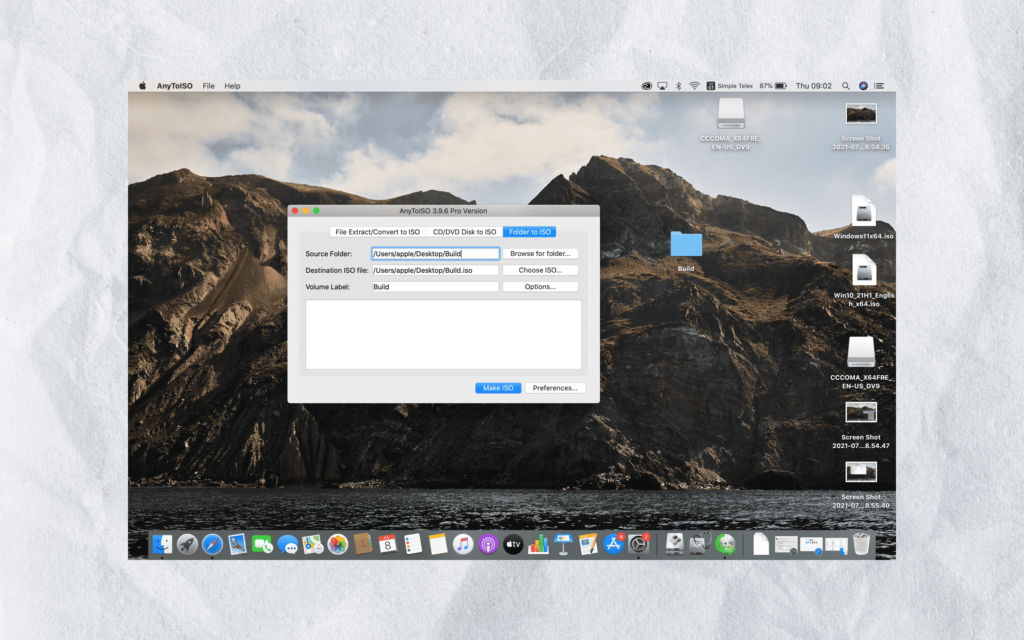
Step 8: Click make ISO and wait for the application to run to create the ISO file. After the application is finished running, you have finished creating the installer.
Steps to install windows 11
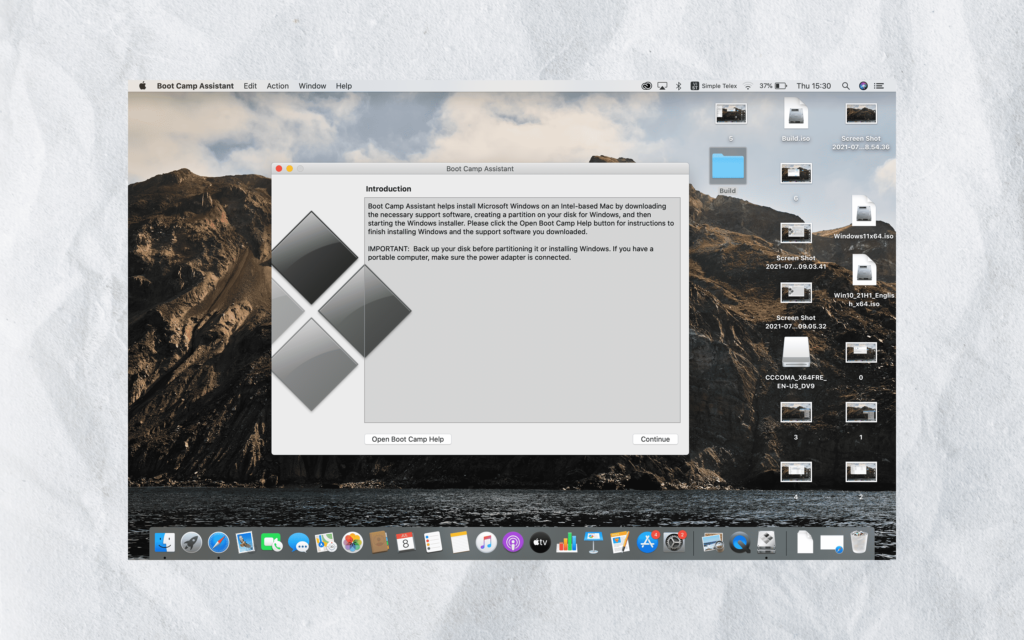
Step 1: Open Boot Camp Assistant by looking in SpotLight or the Application \ Ultilities path. At the welcome interface, press Next
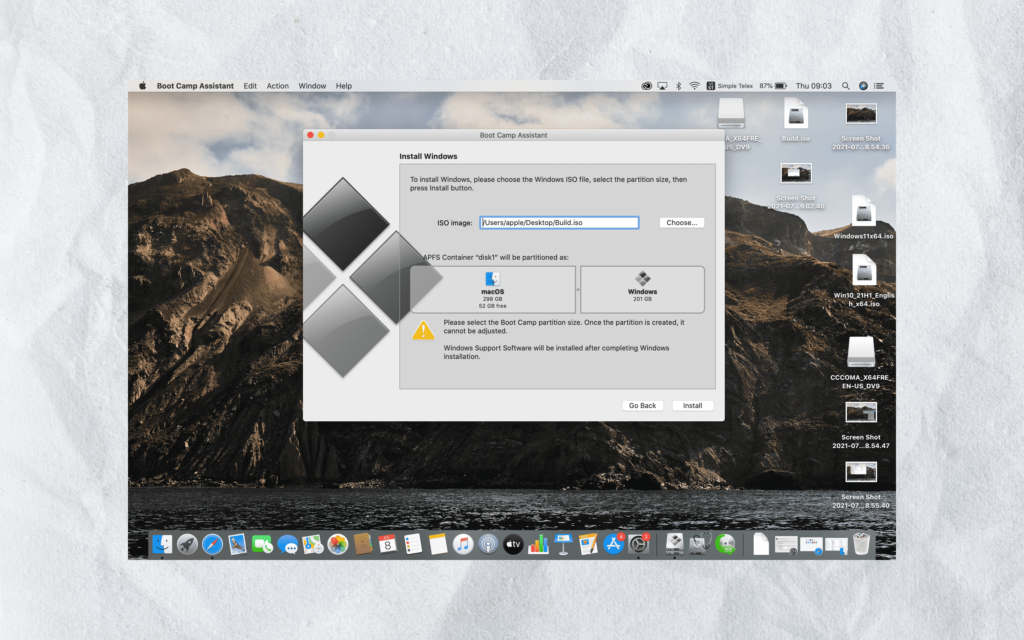
Step 2: In the ISO Image section, press the Choose button and point to the ISO Win 11 file you created above. Divide partitions for Mac and Win according to the amount of space you want. Then click next.
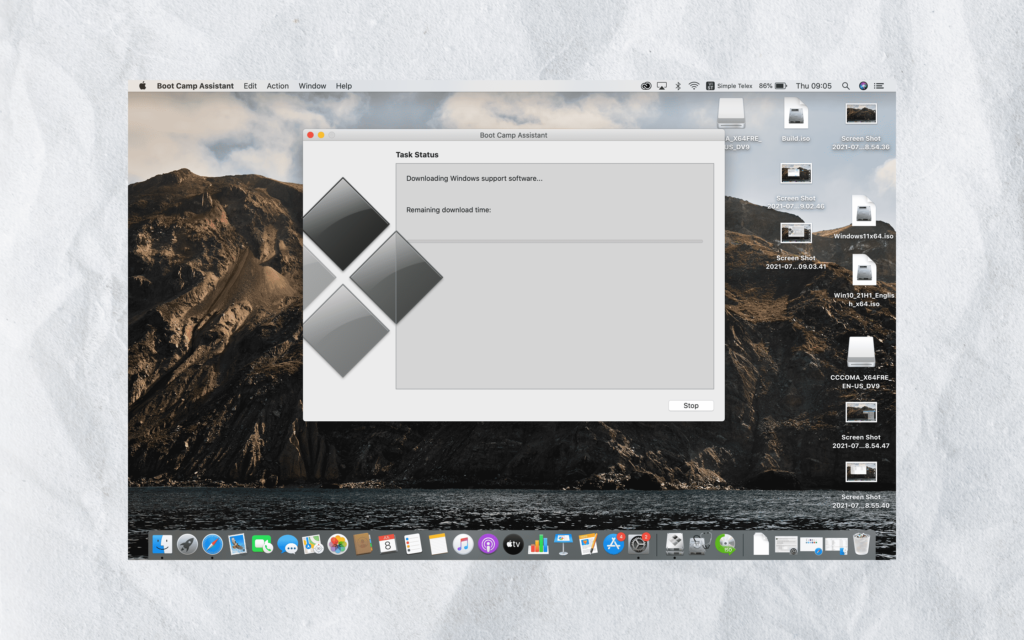
Step 3: Wait for the machine to create the installer and download the BootCamp driver on the Apple homepage
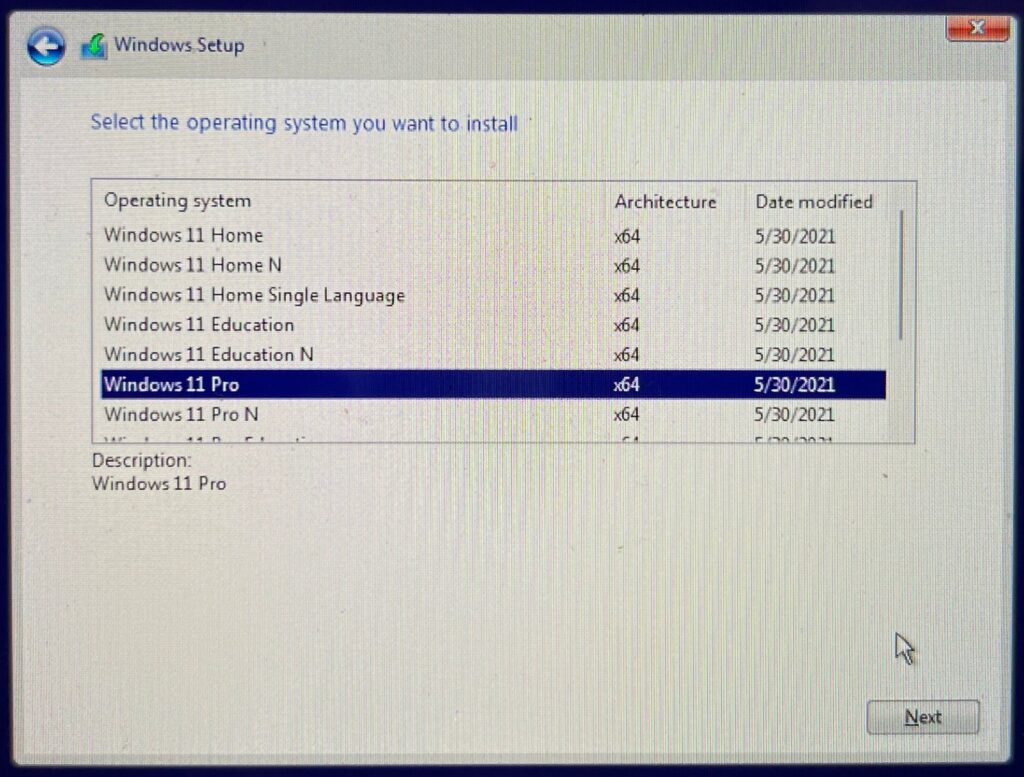
Step 4: When the machine shows the installation screen of Windows 11, you just need to set up the basic things. Here I choose the version of win 11 pro
Step 5: After the installation is complete, the machine will automatically reboot into Windows. You manually install other basic parts such as username, password, update options …
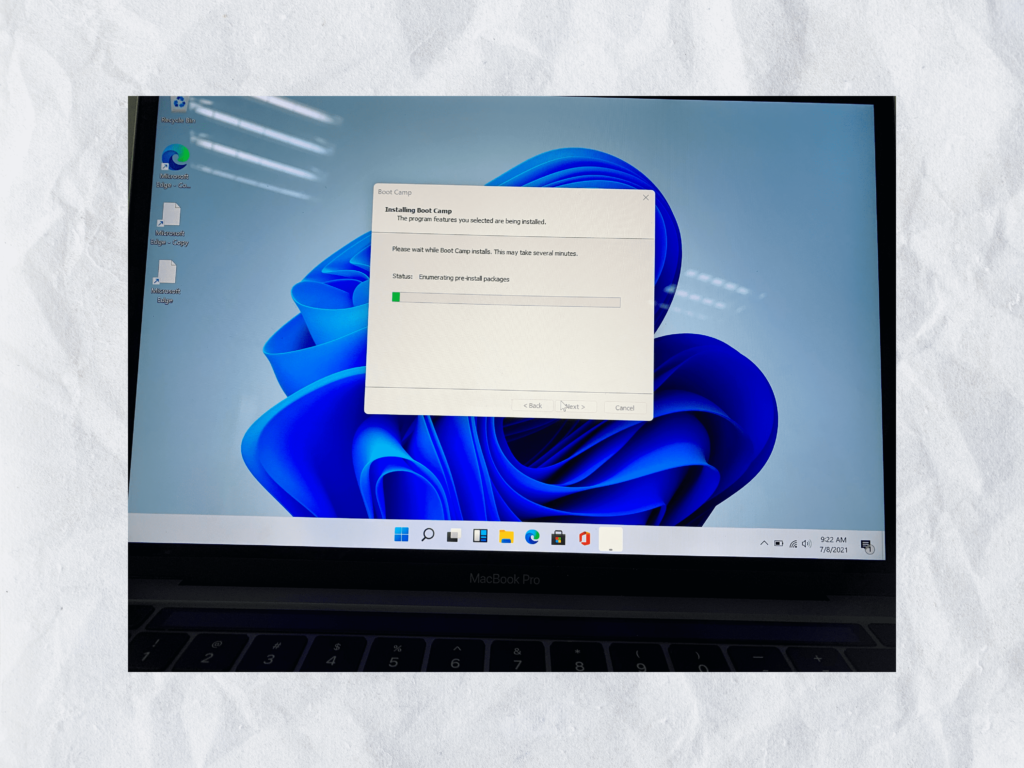
Step 6: At the Desktop screen, Boot Camp will be loaded from the hard drive. You just need to press Next is okay, when it’s done the machine will ask and you will reboot to complete. Ok that’s it
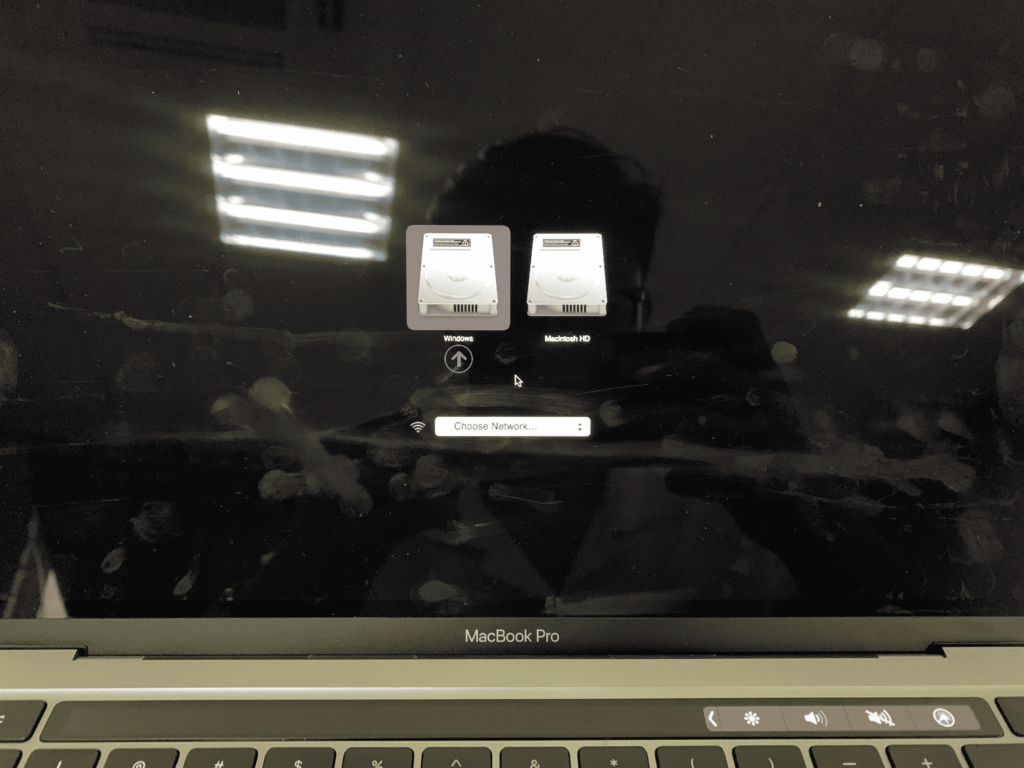
Step 7: When the machine has both Windows and Mac, it will boot into the nearest operating system (before you shutdown). You can choose again in the following ways:
Hold down the Alt (option) button while pressing the power button. A selection of partitions will appear for you to choose as you like.
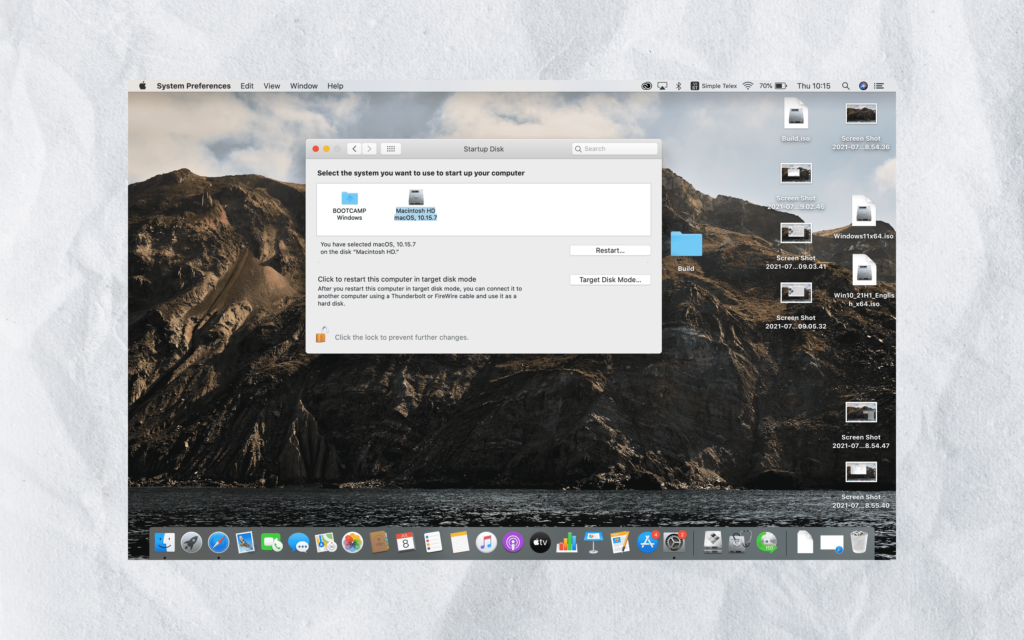
In Mac OS, open Start Up Disk in System Preference, unlock it in the lower left corner, select the operating system you want to automatically run when you turn it on, and press Restart.
If you only want to use Windows and remove all of macOS, create a Windows installation USB in the above way. Then boot into USB to install Win, delete all partitions and recreate as you like.