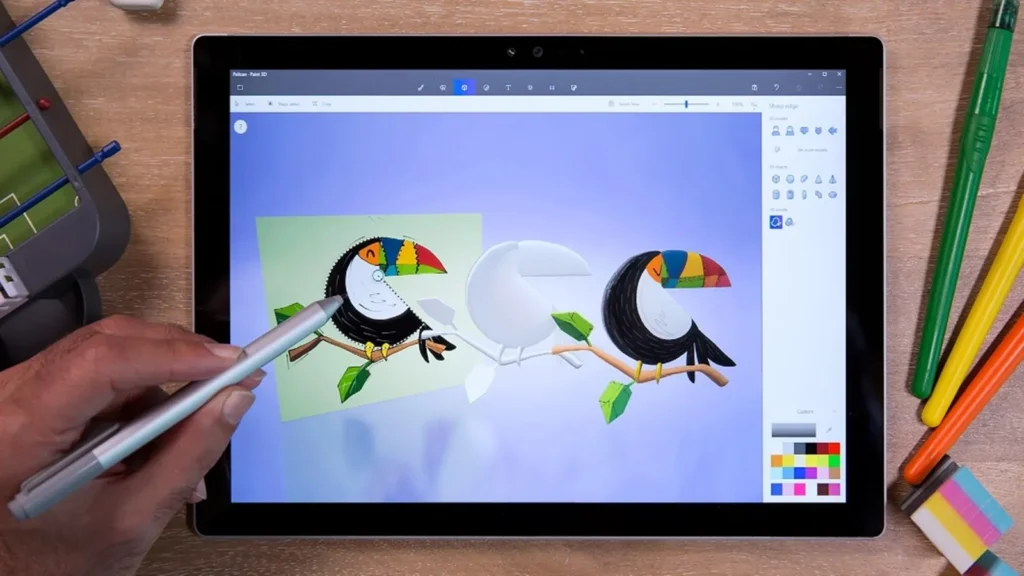
Do you remember Paint 3D? Back in the days when Microsoft was obsessed not with AI but with 3D, Mixed Reality, seriously uncool Windows 10 update names, and other interesting stuff. Despite the effort, Paint 3D failed to become as iconic as its classic predecessor, which is why Microsoft abandoned the idea and focused on upgrading the good old Paint with some quite useful features.
As of right now, Paint 3D is no longer available in the Microsoft Store, but it does not mean it is now lost media. In fact, you can still install Paint 3D if you are interested in giving this interesting piece of software another try. Although Paint 3D was conceived in the early days of Windows 10, it still works perfectly fine, even on the latest Windows 11 updates, such as version 24H2.

How to install Paint 3D on Windows 11 and 10?
Installing Paint 3D on Windows 10 and 11 is pretty simple. All you need is the appx file of the version you want. You can download a collection of recent Paint 3D versions using this link (this includes VCLibs packages) or this link (without packages, via @TheBobPony). Also, there is a separate collection of very old Paint 3D releases by @gus33000, which go all the way back to 2016.
- Download the necessary files and extract them anywhere convenient.
- Open the folder with the install files and find the appx file you want. For example, Microsoft.MSPaint_2024.2405.19017.0.AppxBundle. Tip: Click View > Show > File Extensions to show extension files. Alternatively, sort the folder by Type > APPX file.
- Open the appx file and click “Install.” You can also tick the “Launch when ready” option so that Windows will open Paint 3D once the process is done.
- Enjoy some 3D in your Paint.
Finally, you can install Windows 10 from scratch using Microsoft’s official ISO images. Each consumer installation still has Paint 3D pre-installed.


