If you’re encountering error code 0x8024a204 while installing updates on your Windows 11/10 PC, this post will help you. In this post, we will cover some easy and working solutions that will help you resolve Windows Update error 0x8024a204 in Windows 11/10.
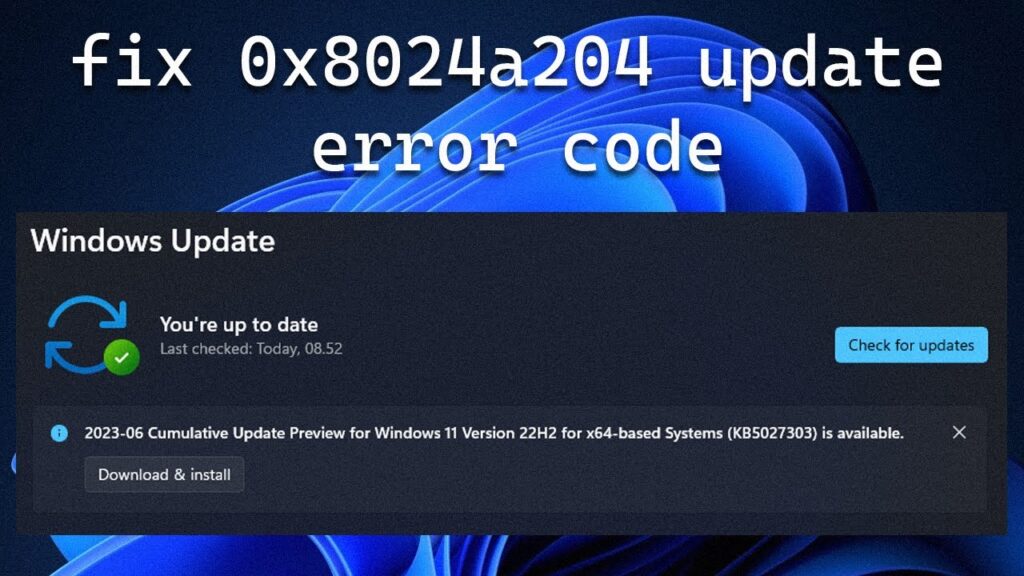
Error 0x8024a204 generally occurs when you try to install a cumulative update. The error is often accompanied by a message that reads:
There were problems installing some updates, but we’ll try again later.
Error code 0x8024a204 indicates an issue with the Windows Update service or its components. It can appear for several reasons, such as limited disk space, corrupt system files, or conflicts with third-party security software.
How to Fix Windows Update Error 0x8024a204
To fix Windows Update error 0x8024a204 on your Windows 11/10 PC, use these solutions:
- Run Windows Update troubleshooter
- Clear the Windows Update cache
- Restart necessary Services
- Reset Windows Update components
- Install the updates manually
Before you begin clear up your disk space by running Disk Cleanup Tool.
1] Run Windows Update troubleshooter

Run the Windows Update troubleshooter. It is a built-in tool that identifies common errors that can prevent updates from installing and attempts to fix them automatically.
Click the Start button icon and select Settings. Or press Win+I to open the Settings app directly. Click System in the left panel and then navigate to Troubleshoot > Other troubleshooters. Click Run next to the Windows Update option.
Wait for the troubleshooter to finish the scan, then apply the suggested fixes. Reboot your PC and see if the issue is resolved.
2] Clear the Windows Update cache

Next, try clearing the Windows Update cache (the contents of the SoftwareDistribution folder) to remove any corrupted or incomplete update files. This process clears the temporary storage for updates, forcing Windows to download fresh copies of the update files.
Open Command Prompt as an administrator and stop the Windows Update services by executing these commands:
net stop wuauserv
net stop bits
Next, type the following command and press Enter:
ren C:\Windows\SoftwareDistribution SoftwareDistribution.old
The above command renames the folder to SoftwareDistribution.old, allowing a new SoftwareDistribution folder to be created when you restart the services.
Finally, restart the Windows Update services that you stopped earlier by executing the following commands in the Command Prompt:
net start wuauserv
net start bits
3] Restart necessary Services

Several services are essential for the proper functioning of Windows Update, including the Windows Update Service (wuauserv), Background Intelligent Transfer Service (bits), Cryptographic Services (cryptsvc), and Windows Installer Service (msiserver). These services work together to download, install, and manage updates in Windows environment.
To ensure these services are running, follow these steps:
- Type ‘services’ in the Windows Search bar and click Open next to the Services app on top of the search results.
- In the Services window, locate each of the services listed above.
- Right-click on each service, select Properties, and set the ‘Startup type’ to Automatic.
- Click Start if the service is not already running.
- Click Apply and then OK.
4] Reset Windows Update components

Resetting Windows Update components is a more comprehensive process that not only clears the update cache but also repairs and resets various components and services involved in Windows Update.
Try resetting Windows Update components by following these steps and see if it helps:
- Stop the Windows Update services.
- Flush the SoftwareDistribution and catroot2 folders.
- Re-register Windows Update-related DLL files.
- Reset the BITS and Windows Update service to their default security descriptors.
- Delete incorrect Registry values.
- Reset Winsock.
- Restart the Windows Update services.
5] Install the updates manually

If none of the above solutions work, you can manually download and install the updates.
Go to the Microsoft Update Catalog. Search for the specific update by its KB number.
Download and install the update manually.
How to fix Windows Update error 0x80240034?
Windows Update error 0x80240034 indicates that an update failed to download or install. To fix the error, restart your PC, run the Windows Update Troubleshooter, disable your antivirus and then run Windows Update and see if it fixes the issue.