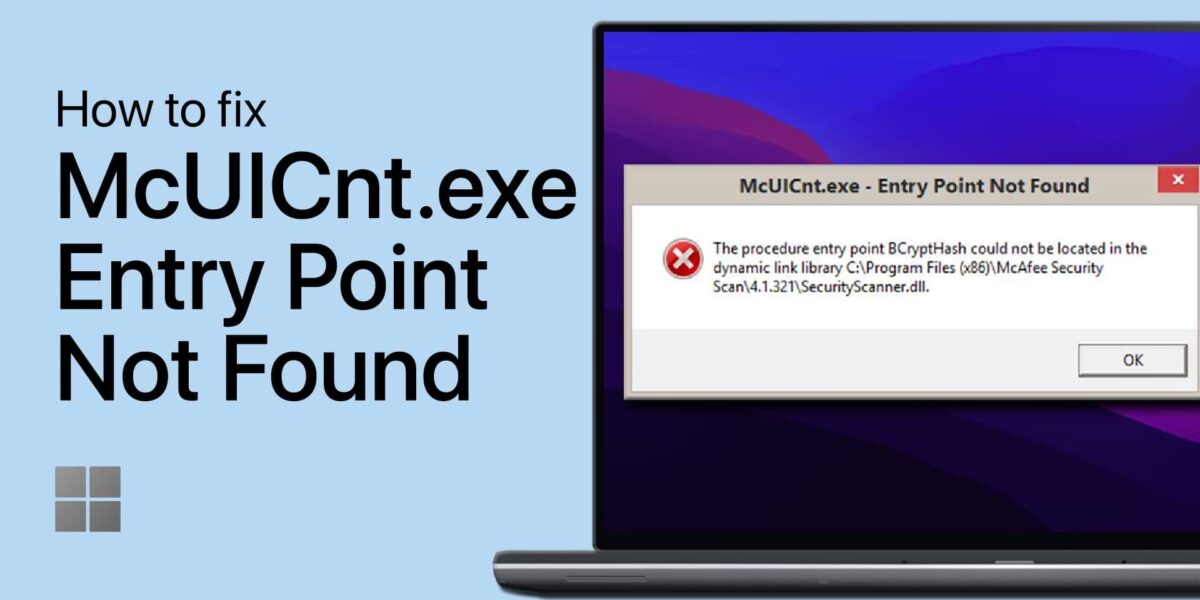
The McUICnt.exe is a crucial software component of the McAfee antivirus software on your system. So, if you are witnessing the “McUICnt.exe – Entry point not found” error message at the system startup, that means, McAfee can’t detect a particular DLL (Dynamic Link Library). In that case, there are several resolutions that you can try to fix the issue.
Fix 1 – Update the Microsoft Visual C++ DLL Library
An outdated Microsoft DLL library or hindrance from your anti-virus and firewall to the execution of the exe app are the usual culprits behind the “procedure entry point” error. The solution begins with updating your Microsoft DLL library.
Head over to the Microsoft Visual C++ Redistributable downloads page to start this process. Once there, navigate and download the redistributable package that aligns with your system architecture. For most users, the x64 version is the go-to.

The download is swift, and you’ll find this .exe file nestled in your downloads folder. Trigger the installation process by double-clicking the downloaded file. Accept the Microsoft license agreement, and then follow the on-screen instructions provided by the install wizard. A system restart will be requested to finalize the installation.
In several instances, this simple step can rectify the “procedure entry point BCryptHash could not be located in the dynamic link library” error that you may encounter on your Windows PC.

Fix 2 – Use the McAfee Software Removal Tool
There is a McAfee Software Removal Tool that you can use to remove the software from your computer.
Step 1 – Download this McAfee Consumer Software Removal Tool directly from the official link.
Step 2 – MCPR will be downloaded on your computer.
Close the browser page and go to the directory where you have downloaded the tool.
Step 3 – Run this “MCPR” tool on your system.

Step 4 – McAfee Software Removal tool will load up.
Step 5 – Tap “Next” to proceed to the next step.

Now, McAfee Software Removal will remove all the components of McAfee Software from your system.
Step 6 – You have to validate the process through a CAPTCHA. Do that and the tool should start the removal process.

Step 7 – Now, there are two possibilities –
You will see the Removal Complete screen. This mean, MCPR has successfully removed the tool. All you have to do is to restart the computer.
Step 8 – If you see Cleanup Unsuccessful page, reboot the computer.
Run the MCPR tool after the system reboots.

Finally, you can download the latest version of the McAfee Software on your system. Reinstall the McAfee Antivirus and check.
Test if this works.
Fix 3 – Uninstall the McAfee Antivirus
Uninstall the McAfee antivirus manually and reinstall it.
Step 1 – Now, right-click the Windows icon and tap “Installed apps“.

Step 2 – Look for the McAfee Antivirus among all the apps.
Step 3 – Click the three-dot and click “Uninstall“.
This way, uninstall the McAfee antivirus from your system. All the components of McAfee software will be uninstalled.
Reinstall McAfee on your system and test.