Before getting into the steps on how to install the new OS without losing data, you should check if your PC is eligible for Windows 11.
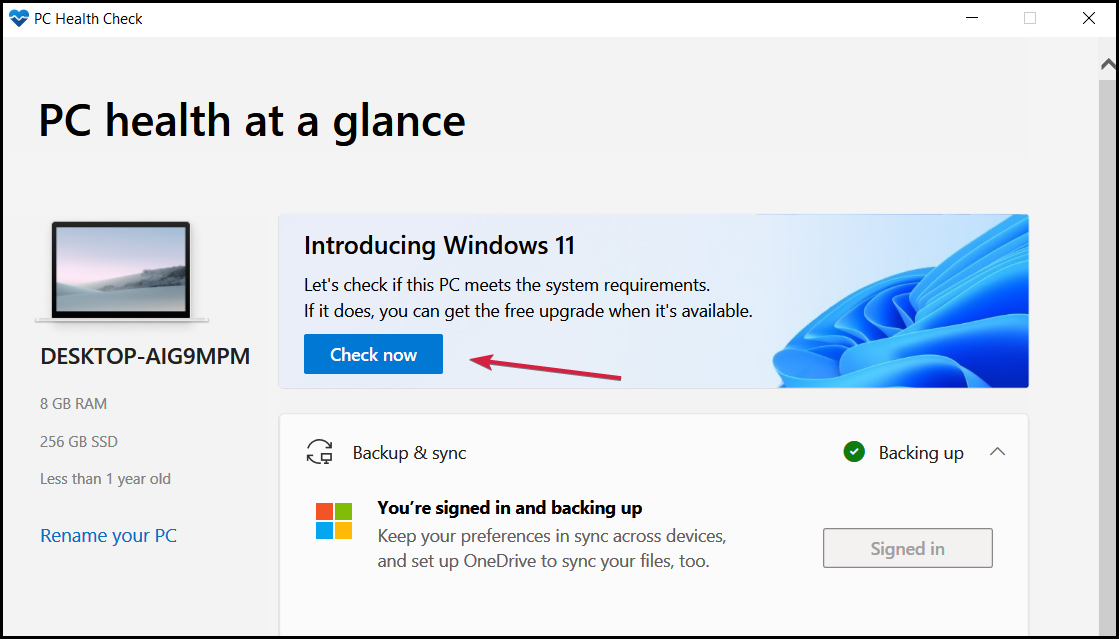
In that regard, you should simply download PC Health Check.
Click the Check Now button and you’ll either be informed that This PC can run Windows 11 and you will be notified when it becomes available, or you’ll continue to receive Windows 10 updates.
Also, although the solutions we provide here were tested and work, there are a lot of other problems you may encounter, so before starting, you should create a backup of all your data to be on the safe side.
That being said, we’re going to show you some easy ways to install Windows 11 without data loss.
How can I upgrade to Windows 11 without losing data?
1. Use Windows Update to upgrade Windows 10 to 11
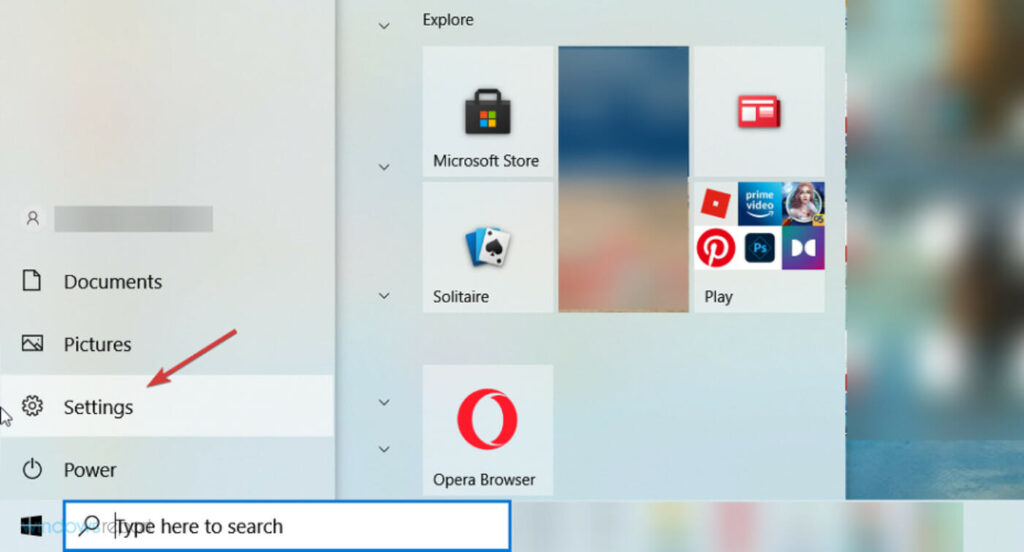
1. Click the Start button and select Settings.
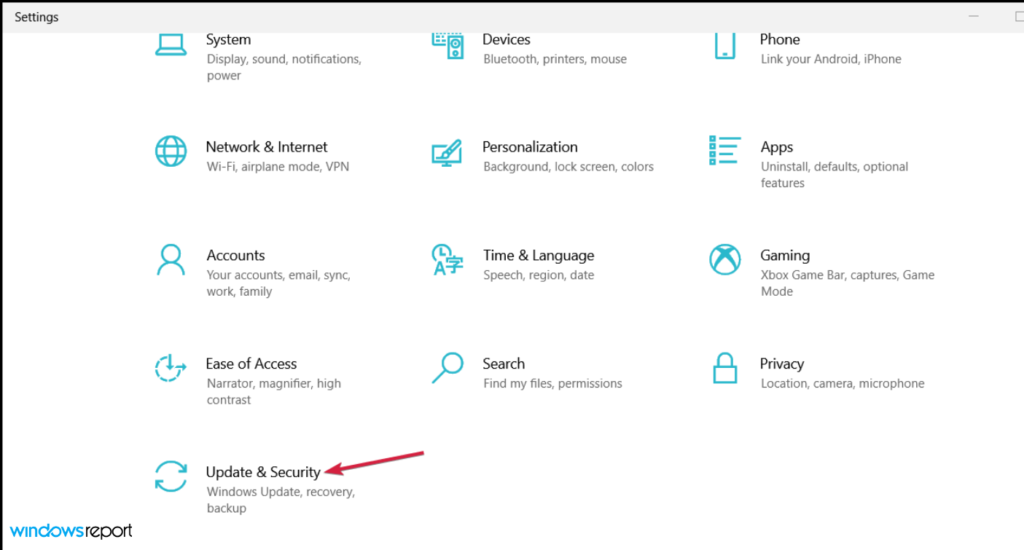
2. Select Update & Security.
3. Click on the Check for updates button.
4. Locate the Windows 11 update.
5. Click to download and install it. It will start to download and then, the installation will begin. You will also be prompted for a restart.
6. Watch the process carefully and when asked if you want to keep your files, you should stay on that path.
The easiest way to upgrade from Windows 10 to Windows 11 without losing data is via Windows Update. Basically, you need to go to the Windows Update section and install Windows 11 from it as if it were a regular Windows 10 update.
2. Download the Windows 11 ISO
1. Navigate to the official Windows 11 Downloads page and click on Select download from Download Windows 11 Disk Image (ISO), then pick Windows 11.
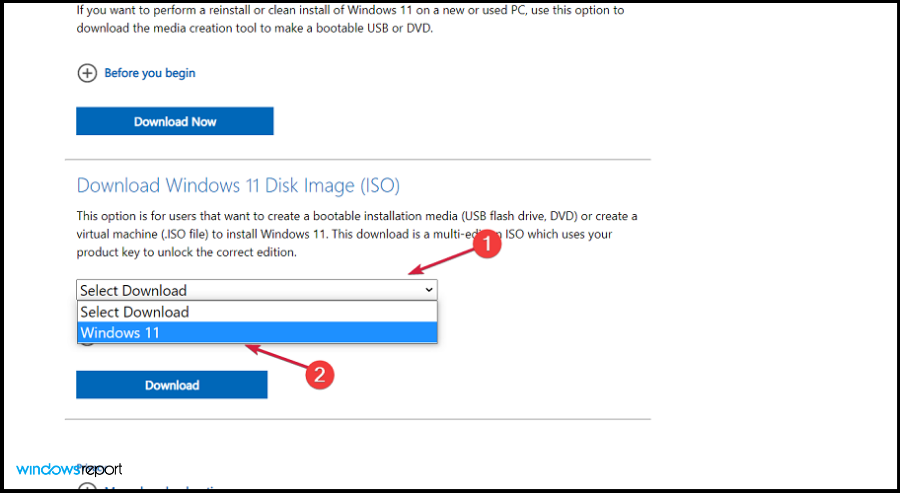
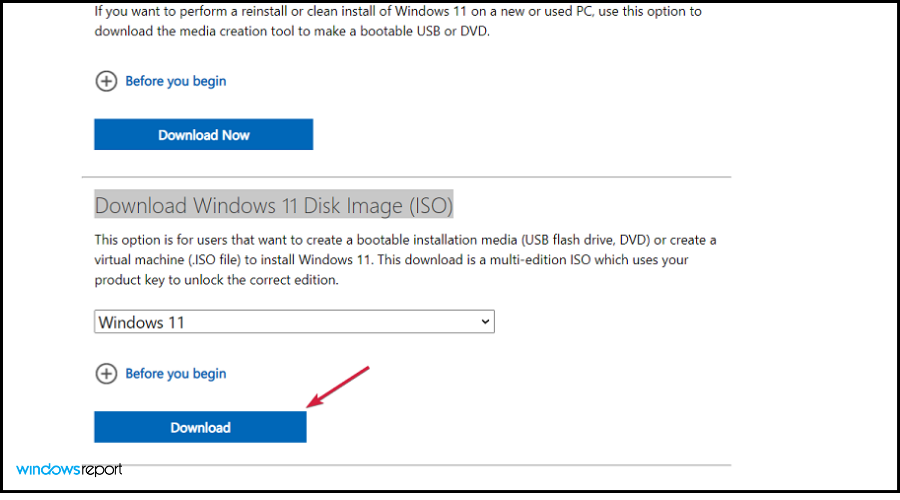
2. Now click on the Download button.
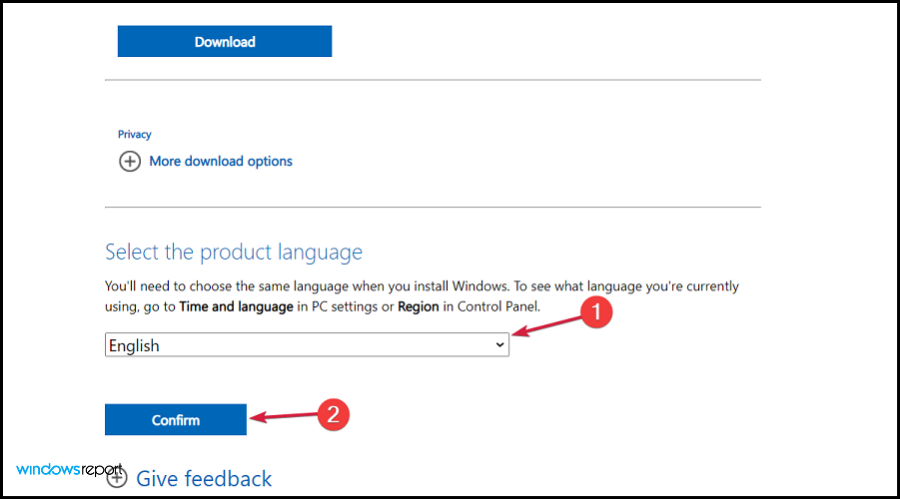
3. Select the language, then click the Confirm button. You will receive a download link and you will be able to click on the 64-bit Download button to get the Windows 11 ISO.
4. Now you can create a bootable USB or DVD, or just right-click the ISO and select the Mount option.
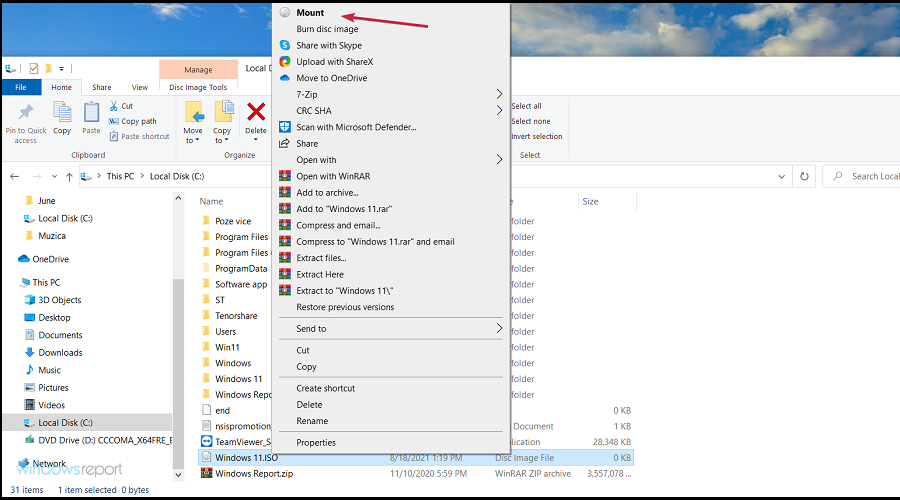
5. You will see a virtual drive in the File Explorer window. Just click on it and then double-click the setup.exe file to start the installation process.
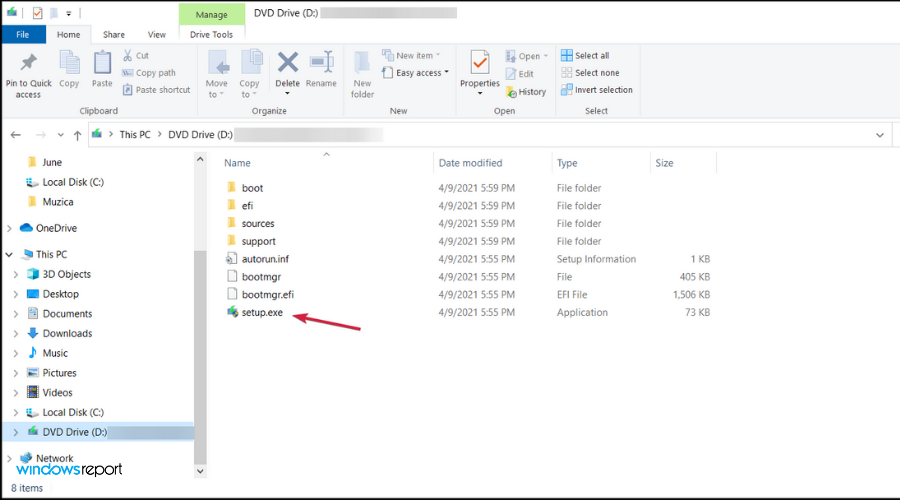
The installation process will start, and along the way, you will be asked if you want to keep your files, so that’s what you need to choose.
3. Use the Windows 11 Installation Assistant
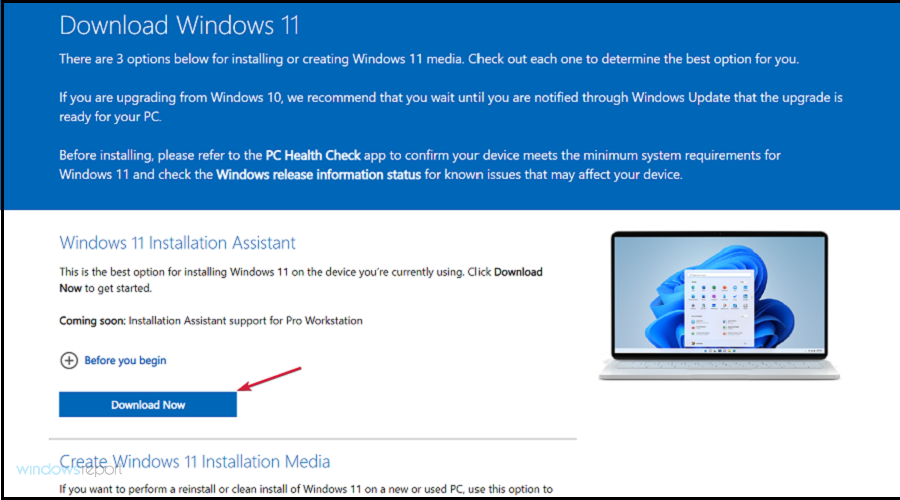
1. Go to the Windows 11 Downloads page and click on Download now right below Windows 11 Installation Assistant.
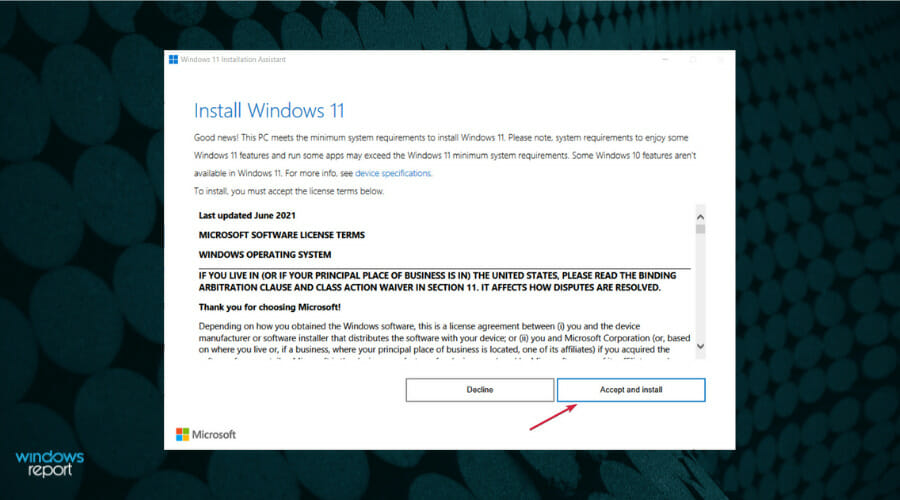
2. You will get an executable file and running it will start the installation process. Select Accept and install after you read the terms of agreement.
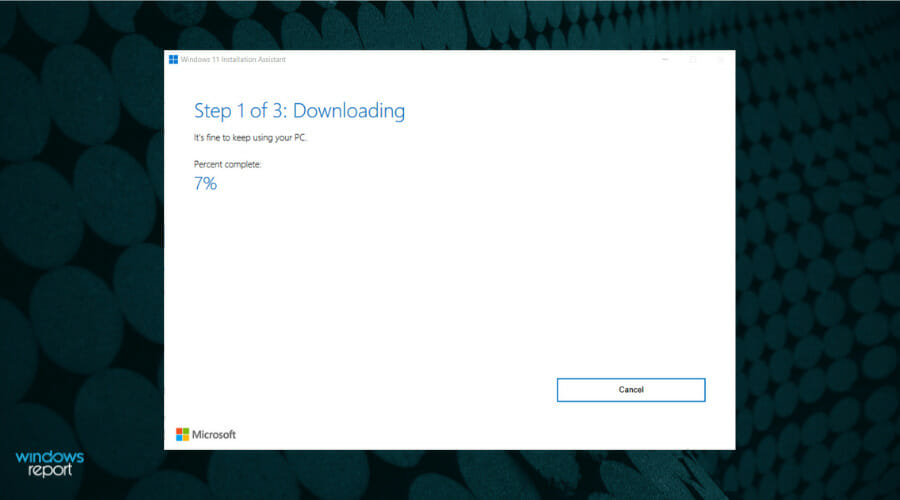
3. Windows 11 will start downloading and installing so wait patiently until the process is over, then proceed with the instructions on the screen to finish.
This is the easiest way to install Windows 11 if your PC is meeting all the requirements because the Installation Assistant will perform all the tasks for you.
However, along the installation process, you will be asked if you want to keep your files so make sure you do that in order to preserve your data.
We also have a guide on how to install Windows 11 without using the Assistant so if you have any reasons to avoid this path, you will find out how to do that.
4. Use the Media Creation Tool
 NOTE: For this solution, a USB drive with at least 8 GB of free space is required.
1. Access the Windows 11 Downloads page and click on Download now under Create Windows 11 Installation Media, to get the Windows 11 Media Creation Tool.
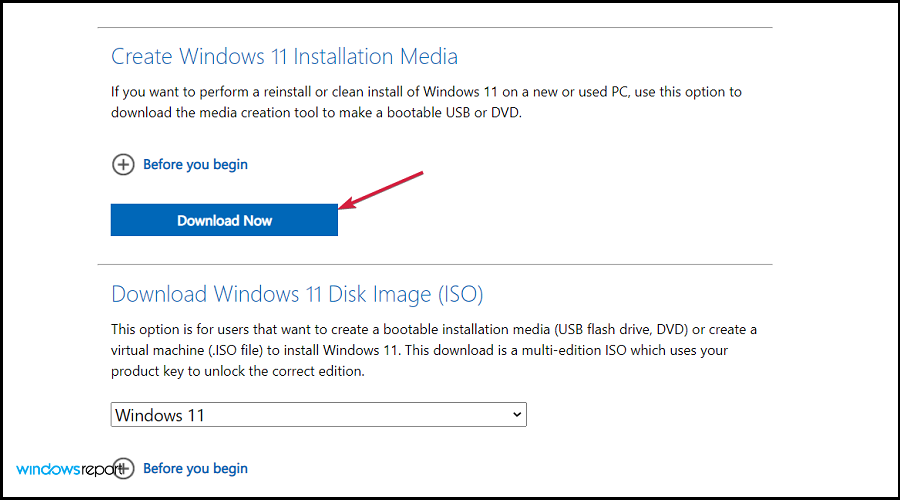
2. Run the file to start the Media Creation Tool app and accept the license terms to move forward.

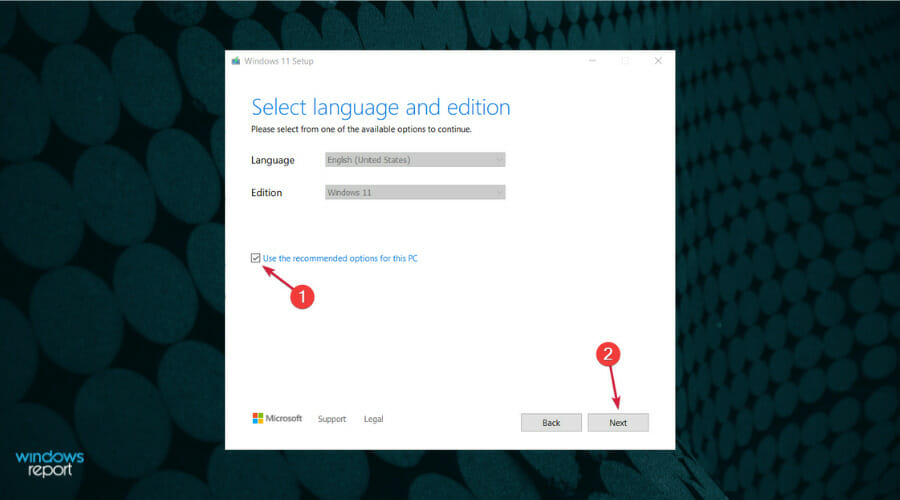
3. Uncheck the Use recommended box if you want to change the Windows language, then hit the Next button.
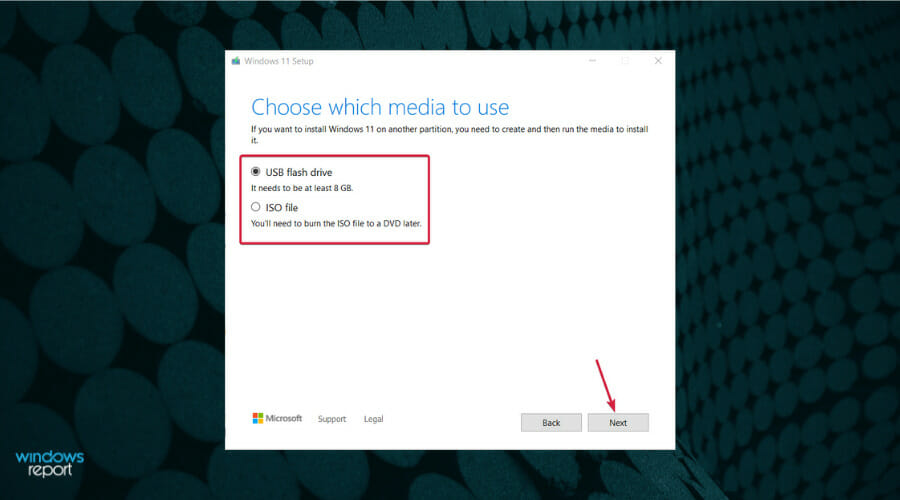
4. Next, you can choose whether you want to create a bootable USB drive or just to save the Windows 11 ISO and use it later. If you select the first option, make sure you inserted a USB drive before clicking Next. We will select the first option because you already know how to download the Widows 11 ISO from the previous step.
5. The only thing left to do is to select the drive you prepared and click the Next button.
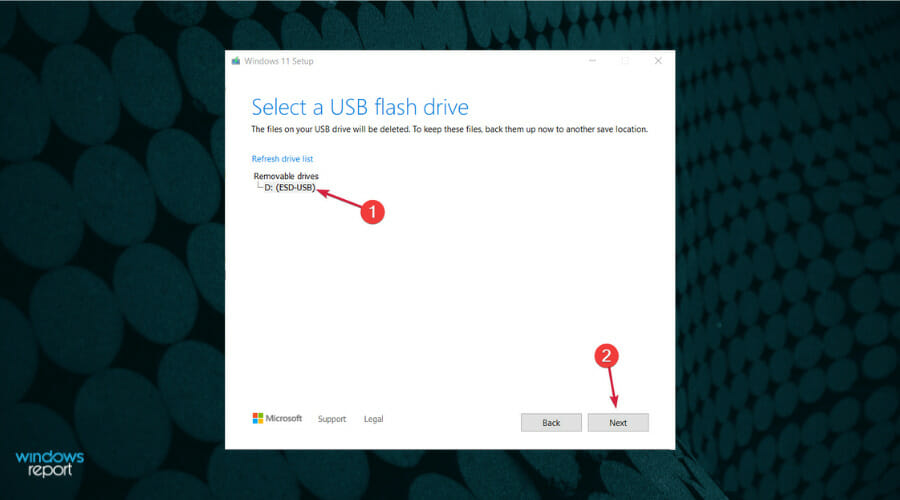
6. The app will start downloading Windows 11, then verify the download and ultimately create your Windows 11 bootable media you can use to install the new OS.
Although we already mentioned this in the previous steps, we can’t stress enough the fact that during the installation you will be asked whether you want to keep your files so you should follow that path.
If your PC is not prepared with TPM 2.0 and Secure Boot, this solution will not work for you because when the installation starts, those requirements will be checked.
However, we have a complete guide on how to install Windows 11 without TPM and Secure Boot that will help you avoid this issue.